Navisworks file import done in just about a minute
Open a Navisworks NWD or NWC file straight in Kryptos, keep its colours, split it by category and make it lighter, without exporting anything first.
5 min read
Every Fire & Gas mapping study starts with the plant model. In Kryptos, that means one Navisworks file and one button.
This guide walks you through importing a Navisworks file into Kryptos, step by step. It also shows how fast the import is: in our tutorial, a 34 MB Navisworks file of a full offshore platform went from clicking OK to a finished 3D model in about a minute.
What you need
- The plant model as a Navisworks
.nwdor.nwcfile.
Any CAD file that opens in Navisworks, such as RVM, PDMS or DGN, can be saved as an NWD file and imported the same way. You can also use the plugin we provide to export those formats as Kryptos geometry files (.kryptosgeo).
Tip: Check the model in Navisworks before you save it. Anything hidden in Navisworks when the file was saved is ignored by the import.
Step 1: Pick the file
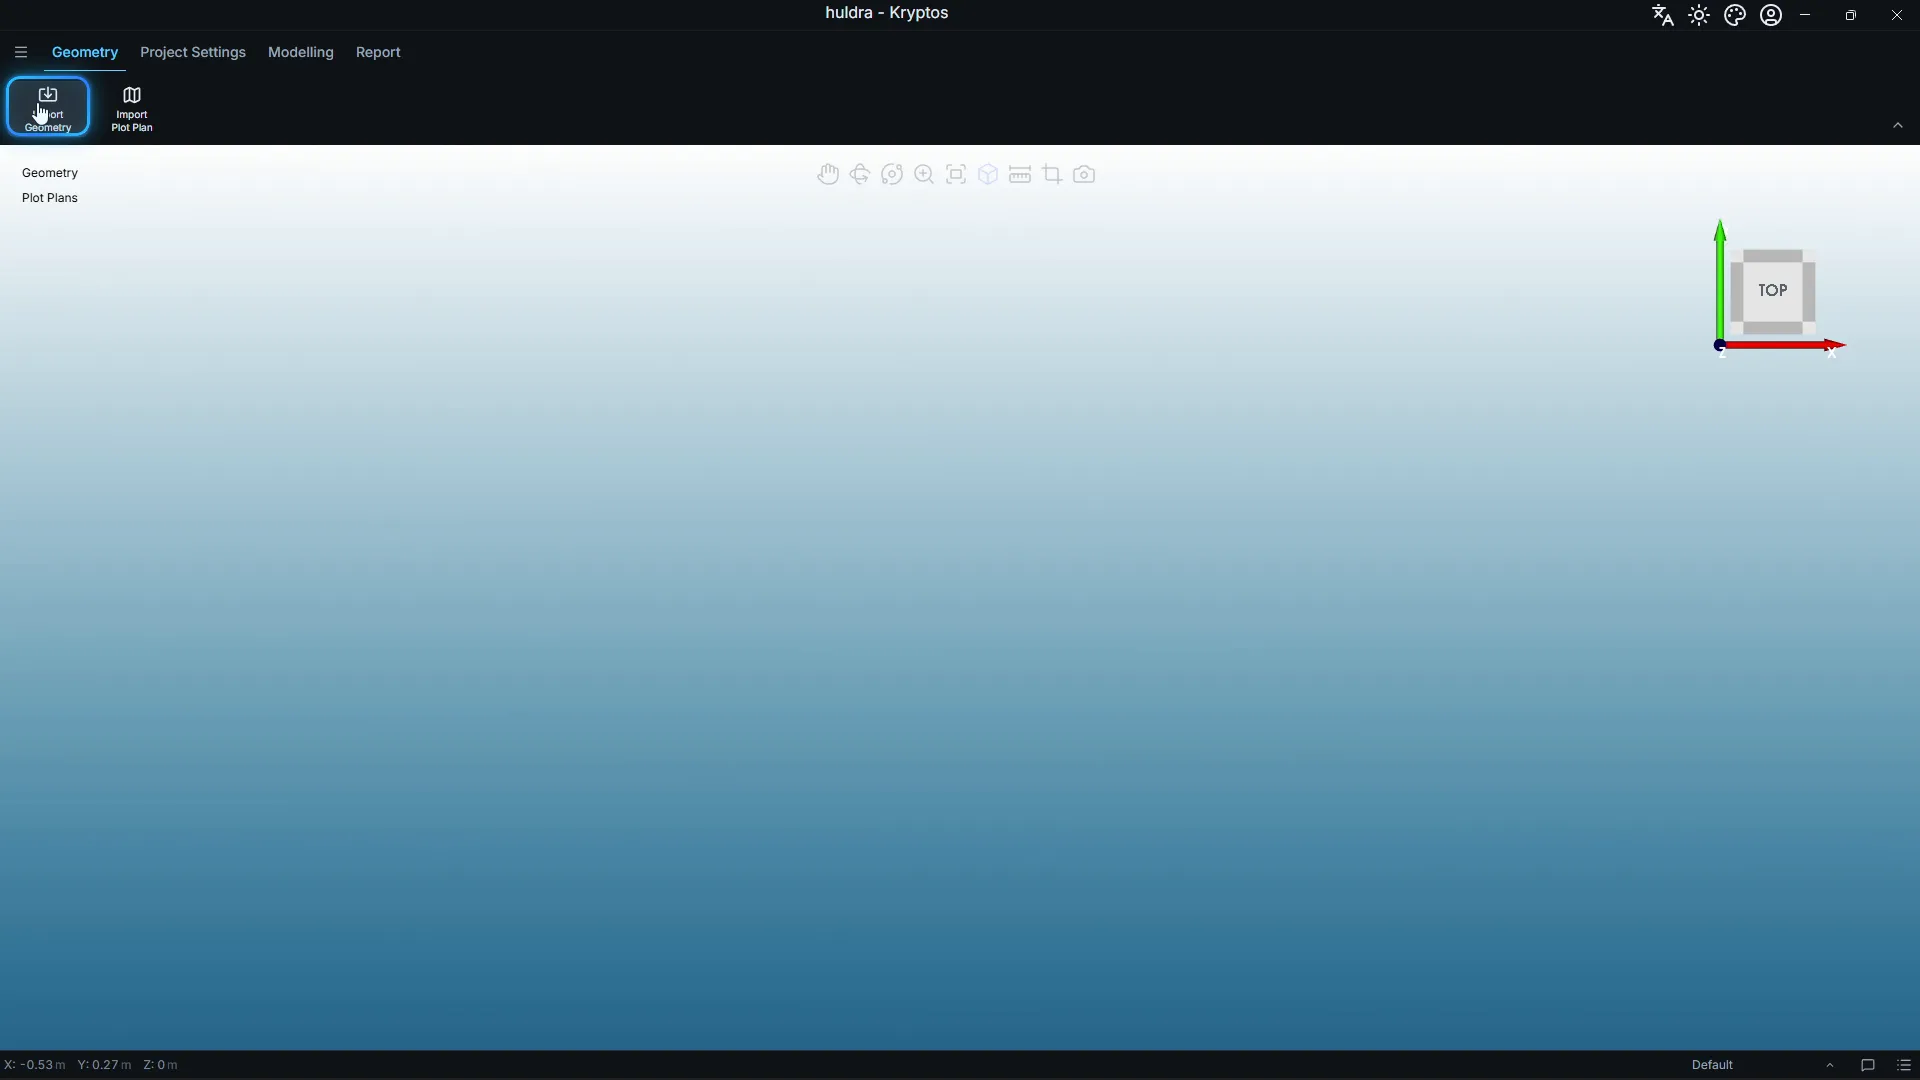
- Open the Geometry tab.
- Click Import Geometry in the ribbon.
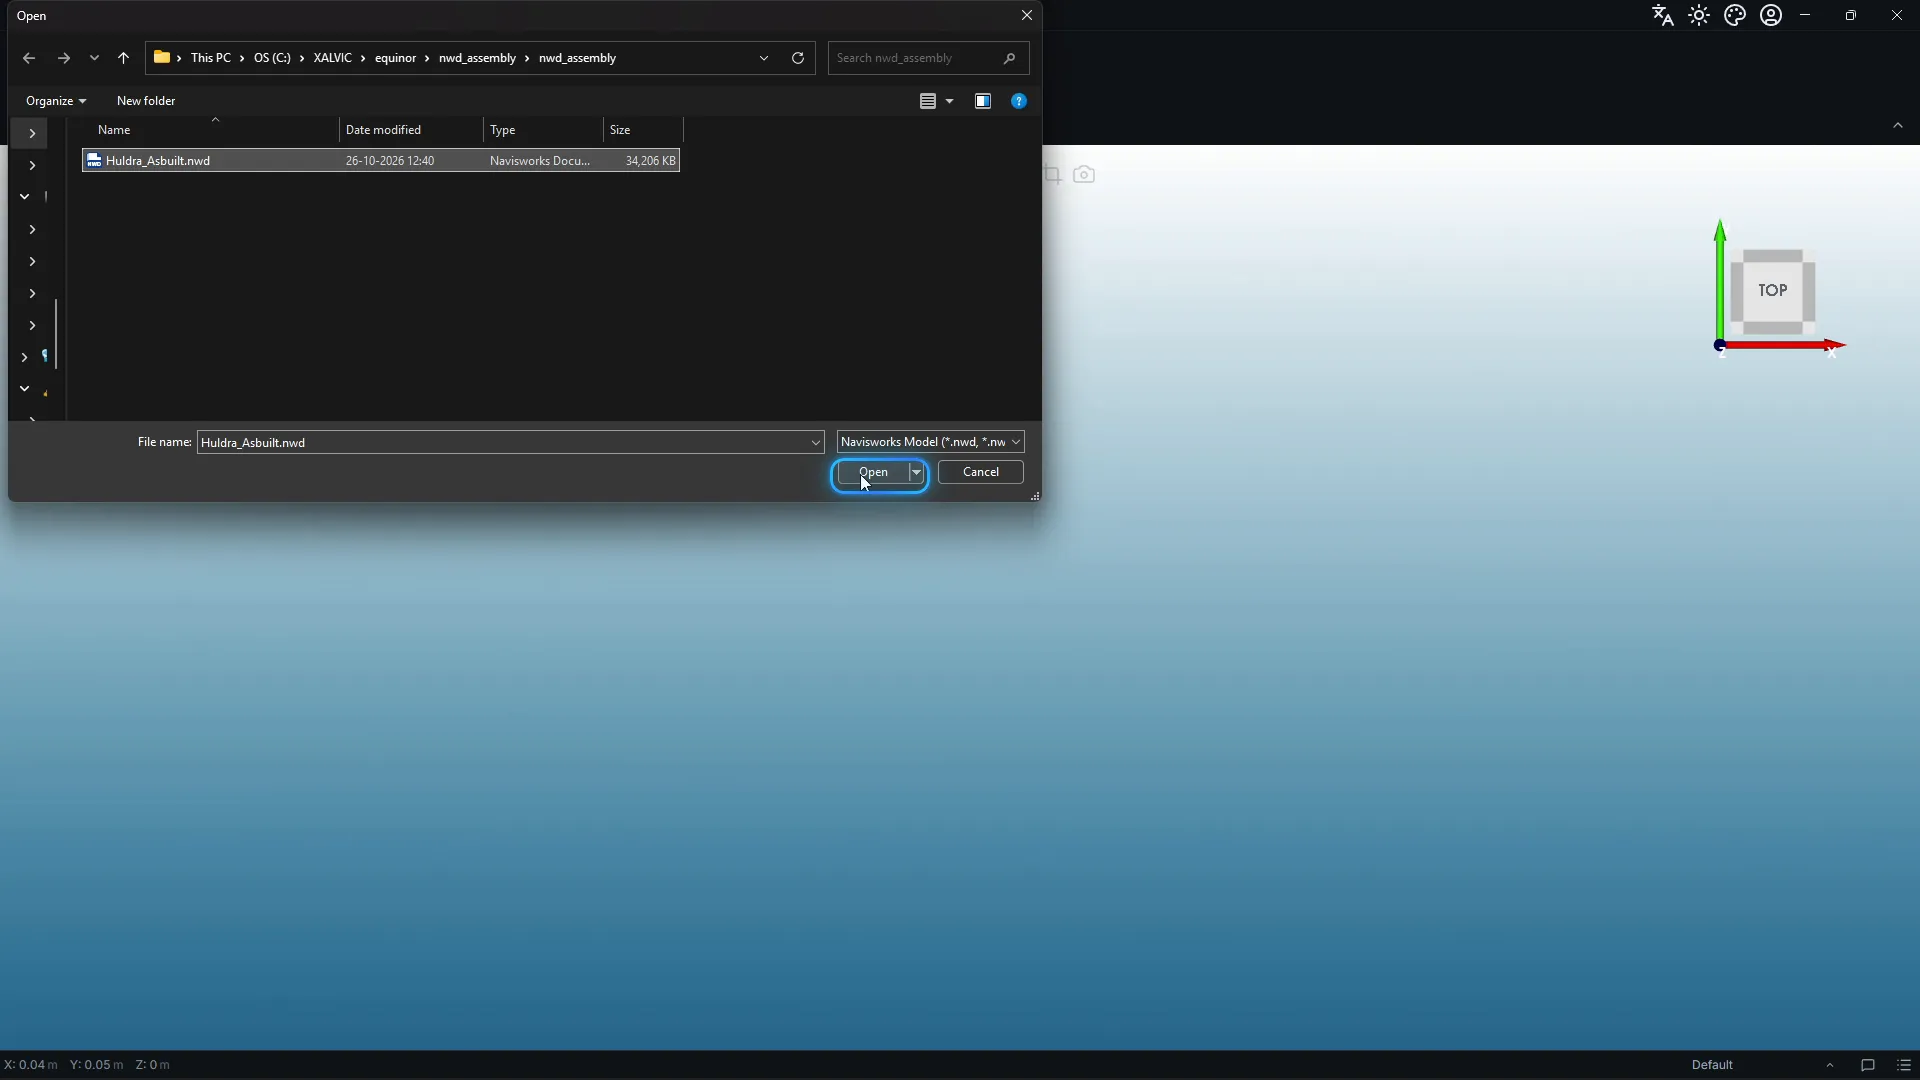
- Choose your NWD or NWC file and click Open.
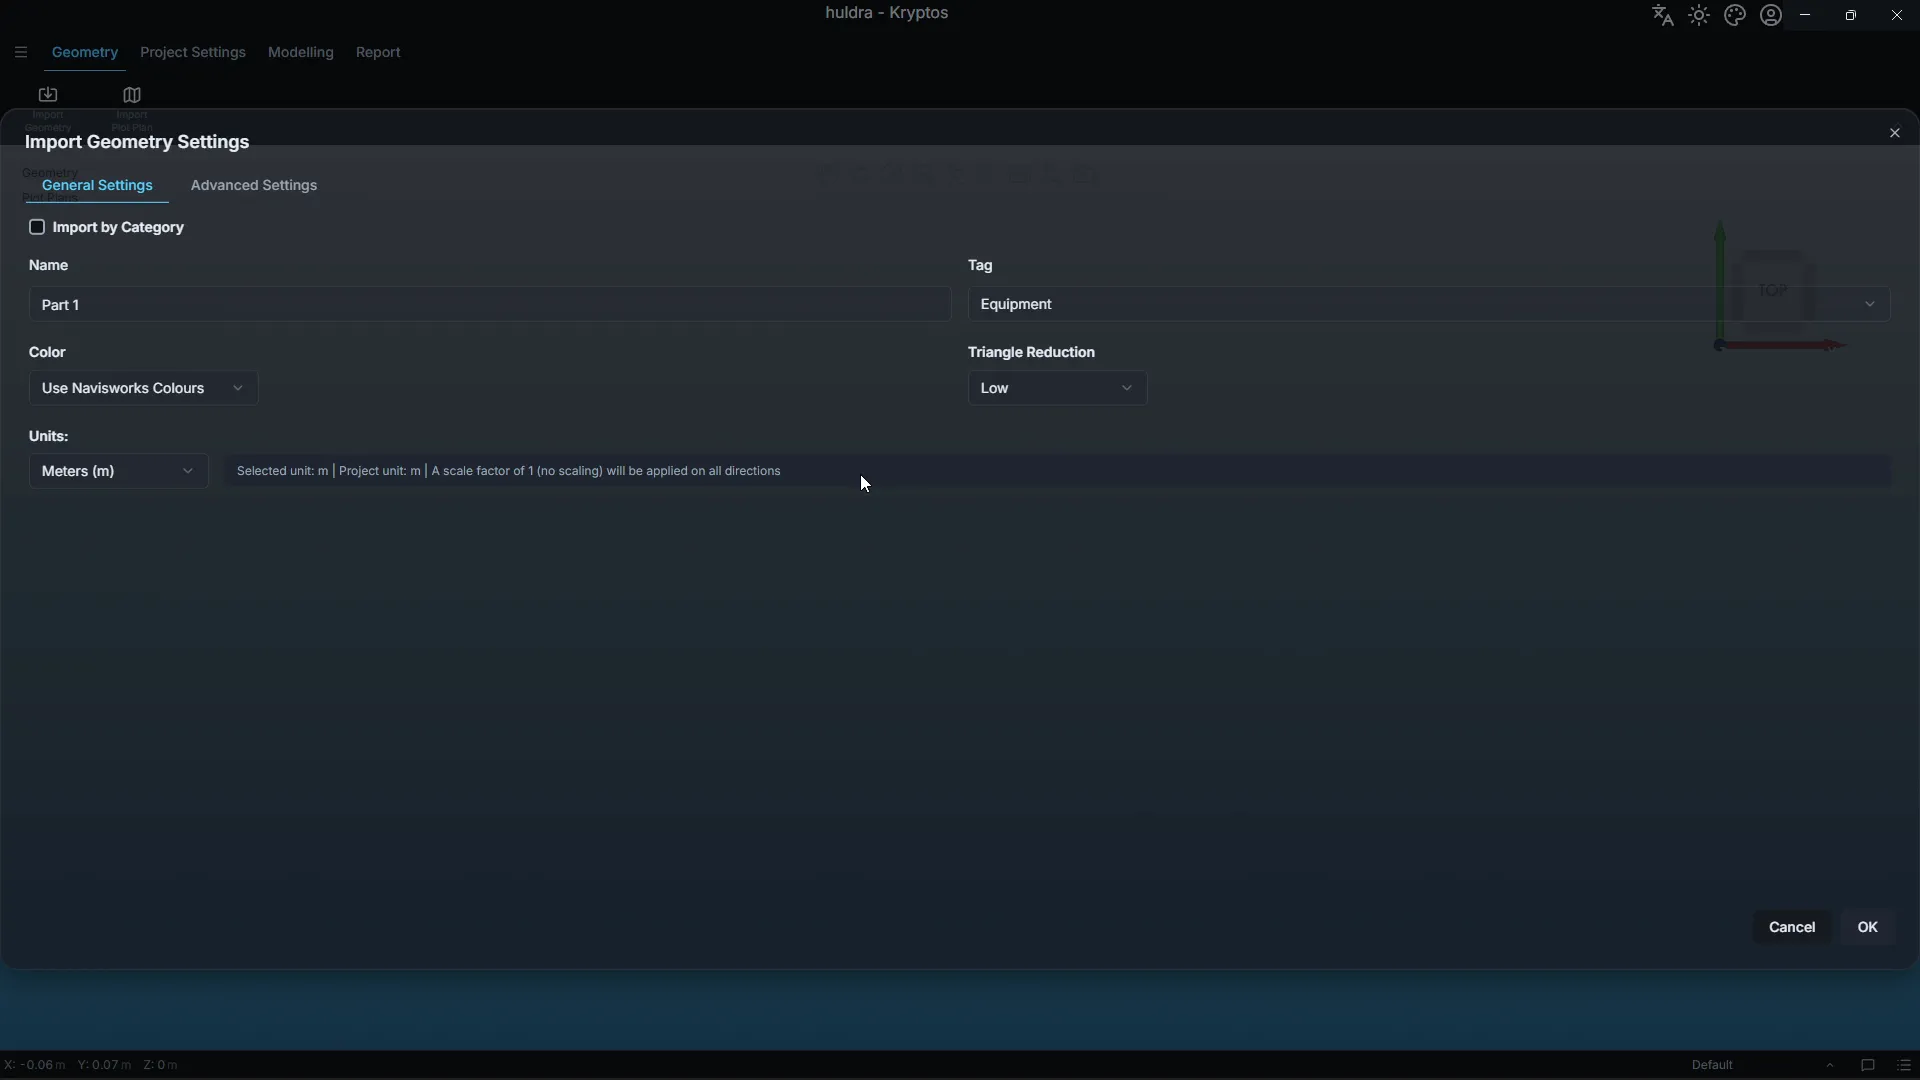
The Import Geometry Settings window opens.
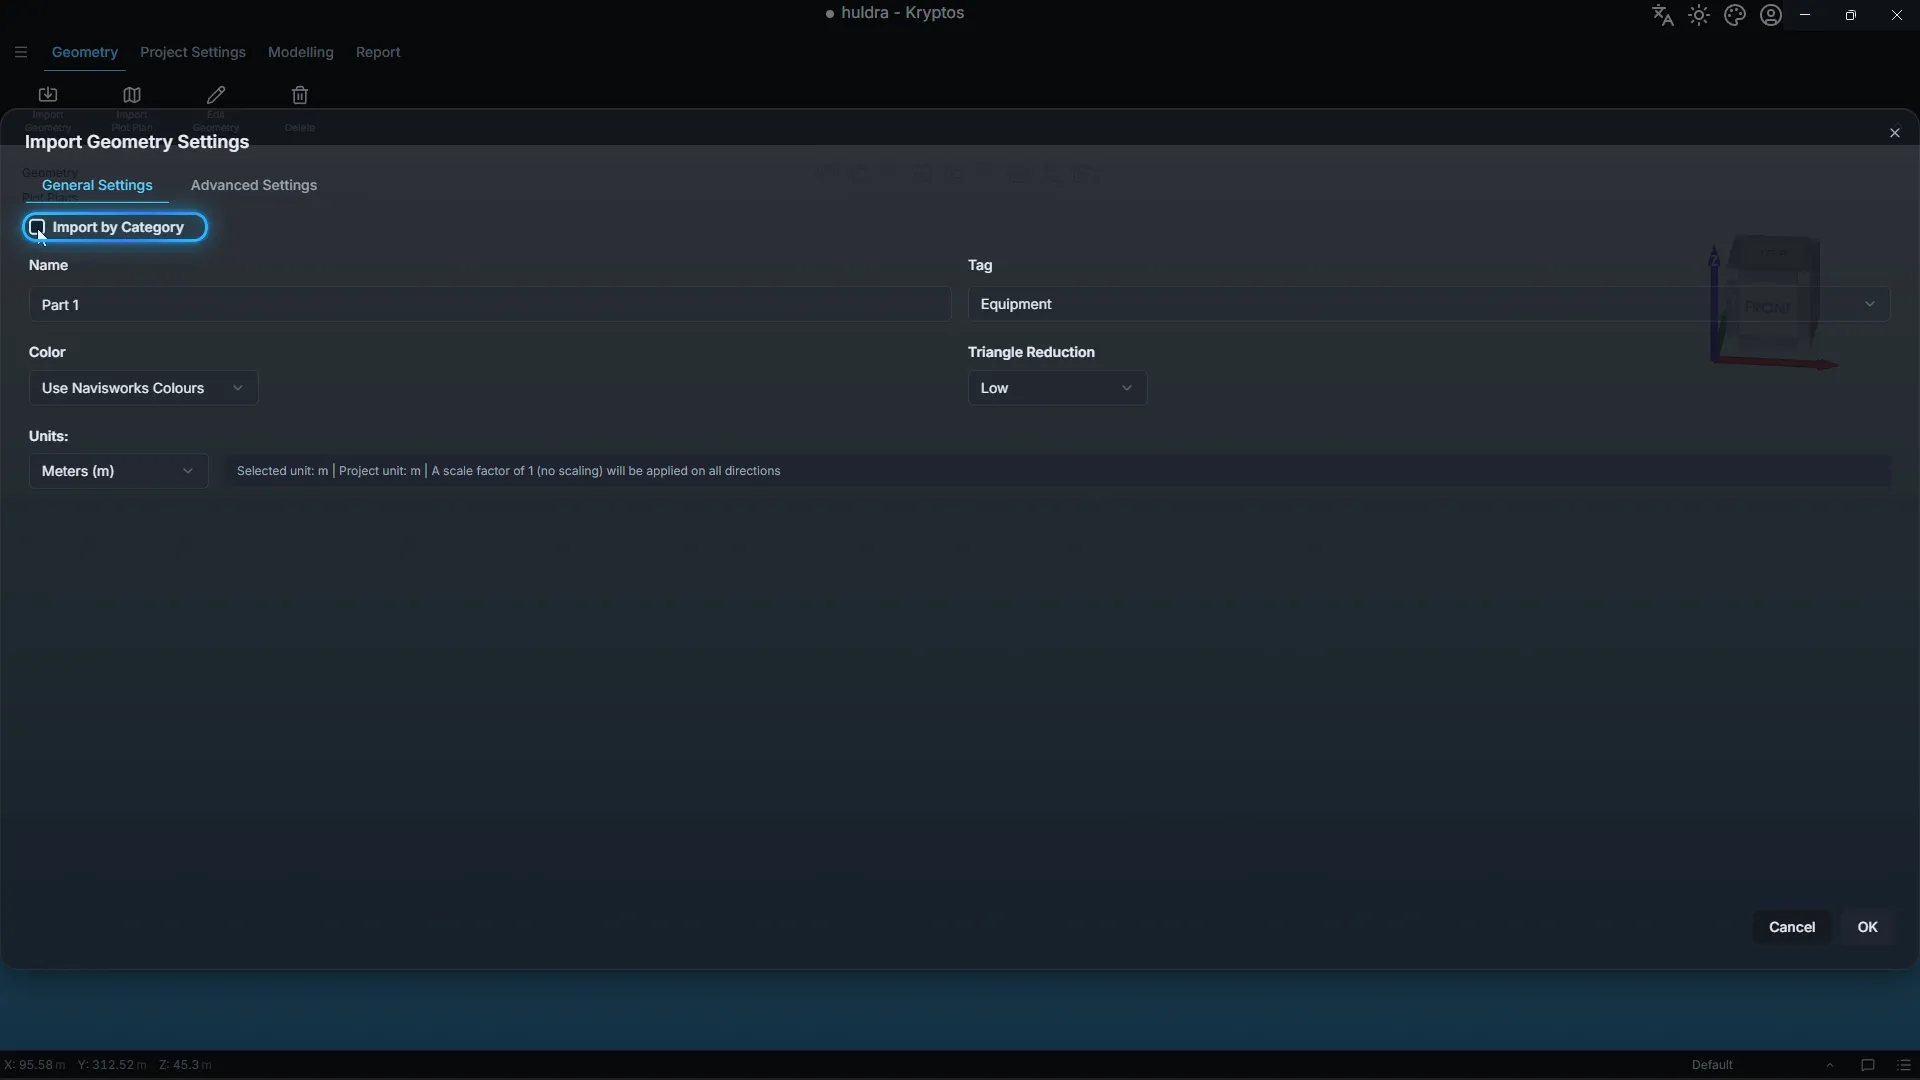
Step 2: Name and tag the model
-
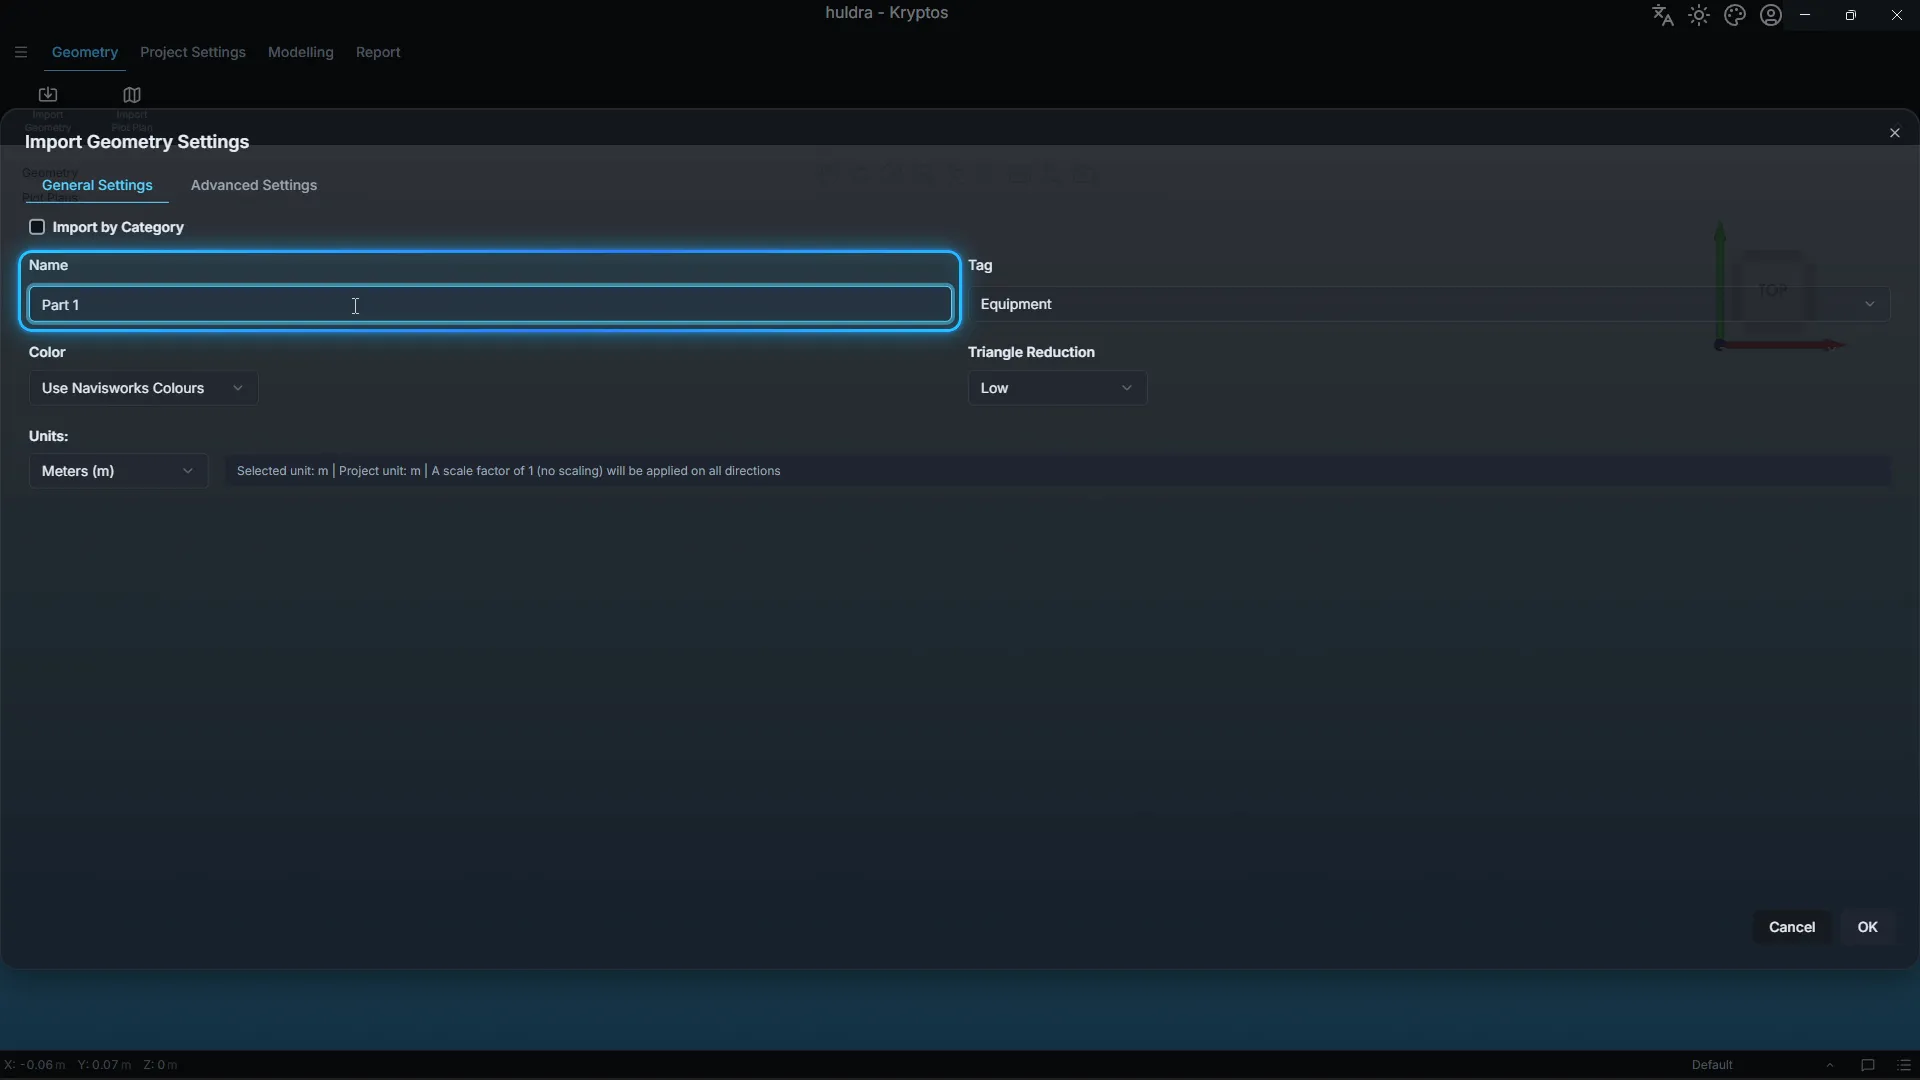
Give the geometry a Name.
-
Pick a Tag: Equipment, Piping, Structure, Electrical, Safety, HVAC or Miscellaneous.
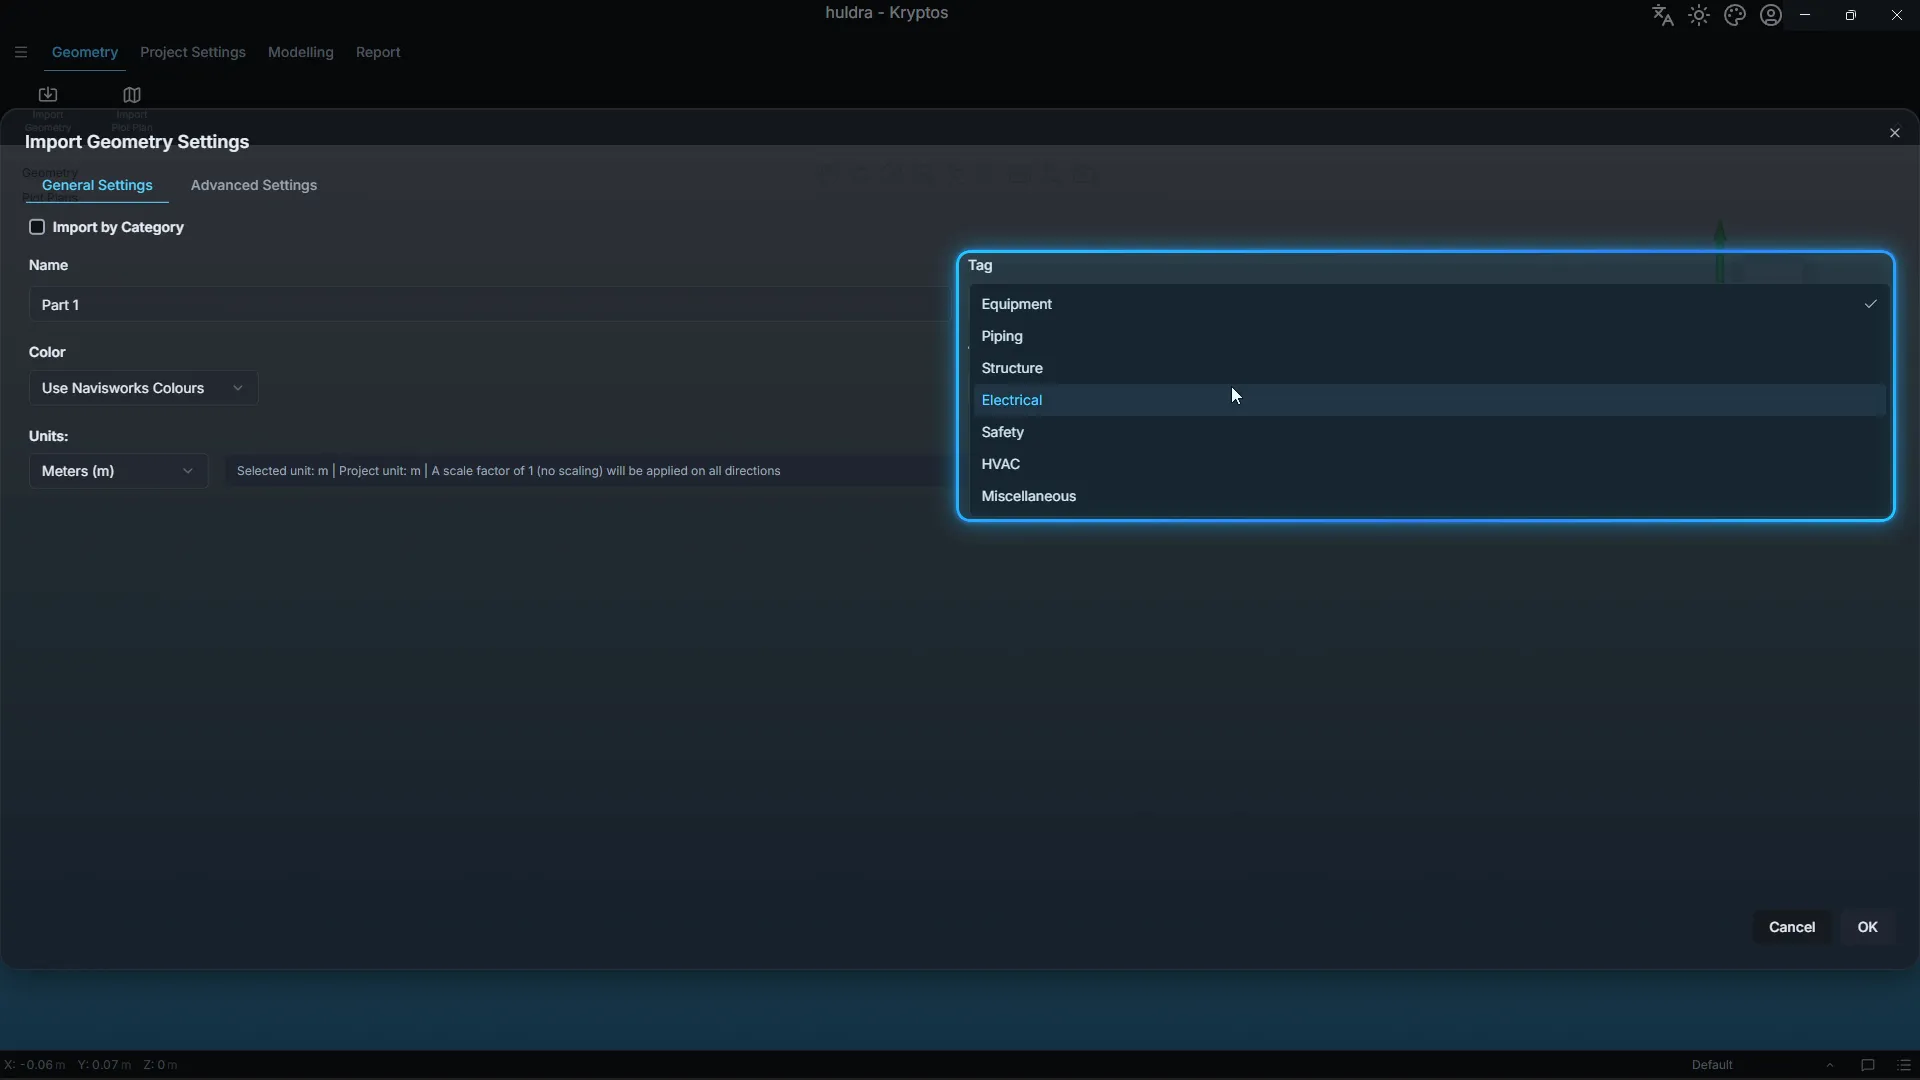
The tag tells Kryptos what the geometry is.
Tip: Geometry tagged Miscellaneous is shown but not used in the calculations. Use it only for things that should not block gas or a fire detector’s view.
Step 3: Choose the colours
For Navisworks files, Color has two options:
- Use Navisworks Colours
- Custom
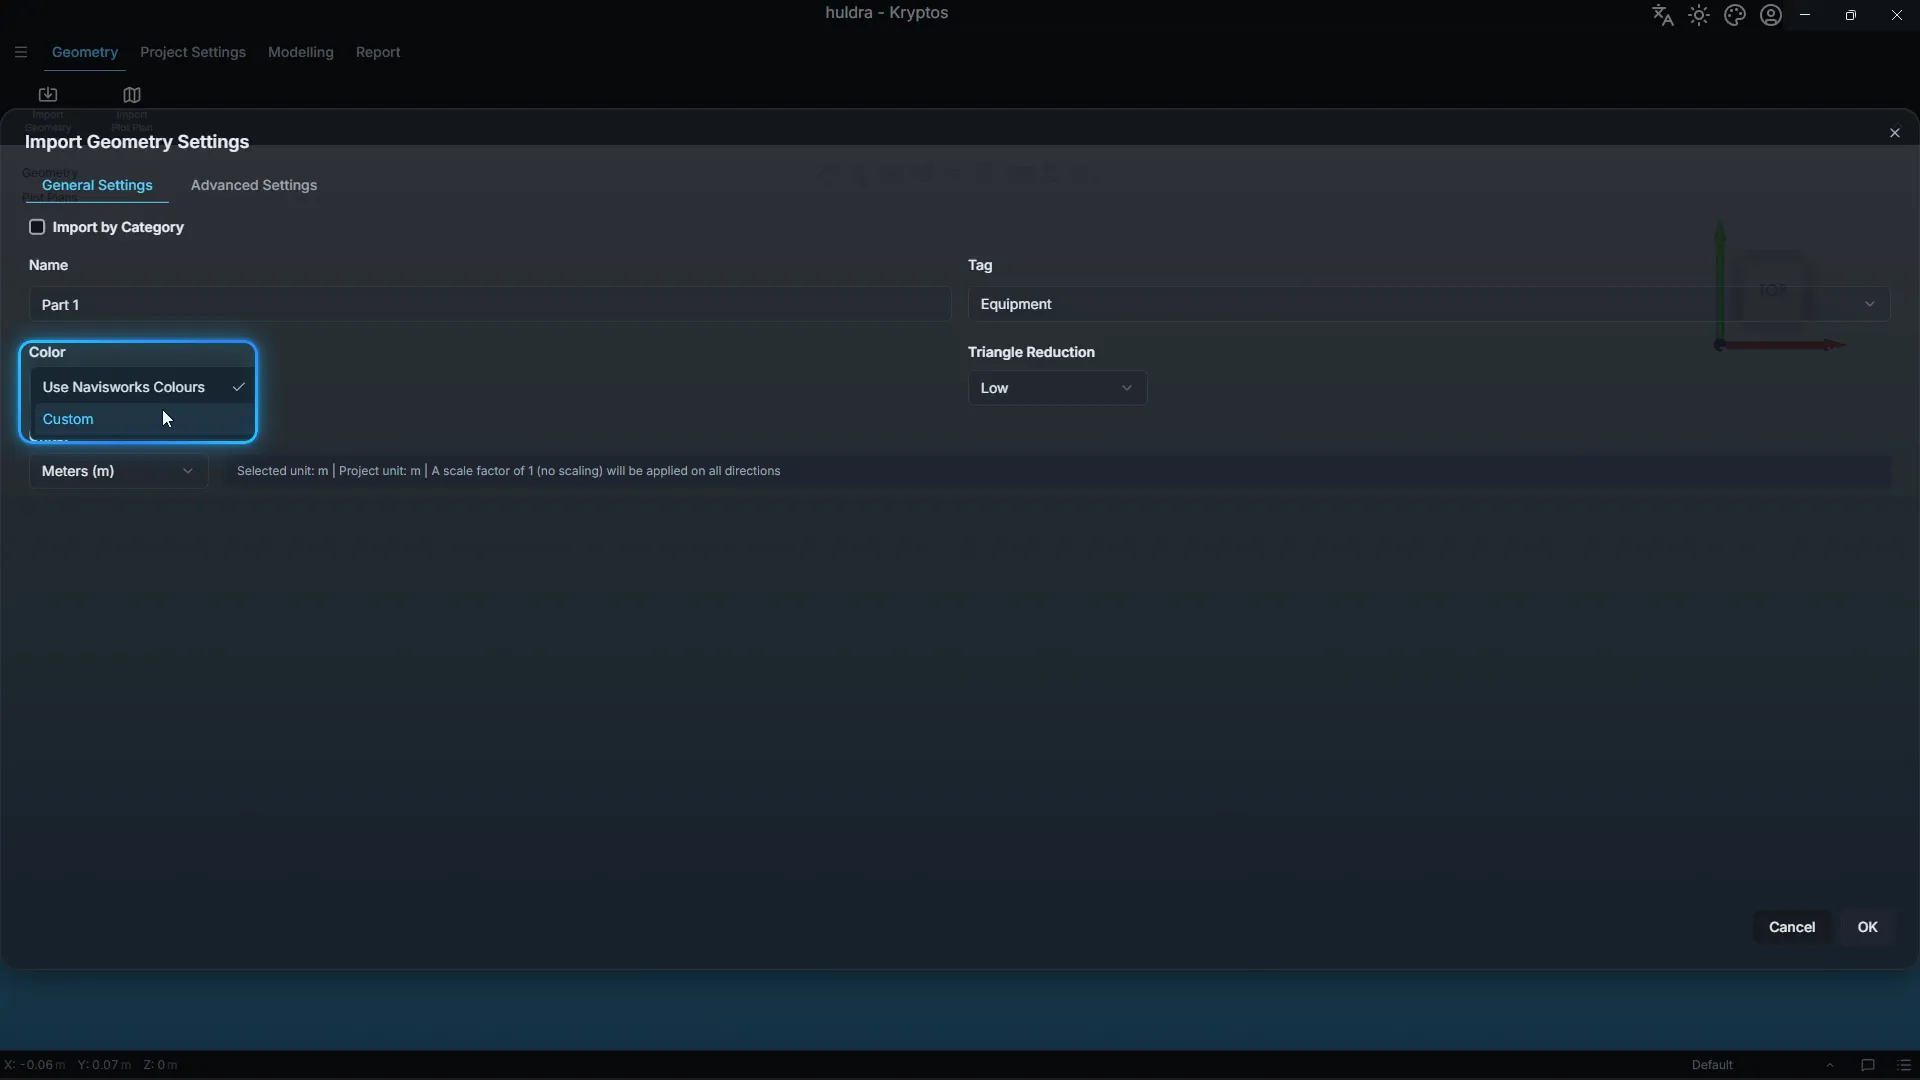
Use Navisworks Colours
Each part keeps the colour it has in the Navisworks file, so the model looks exactly as it does in Navisworks. This is the default.
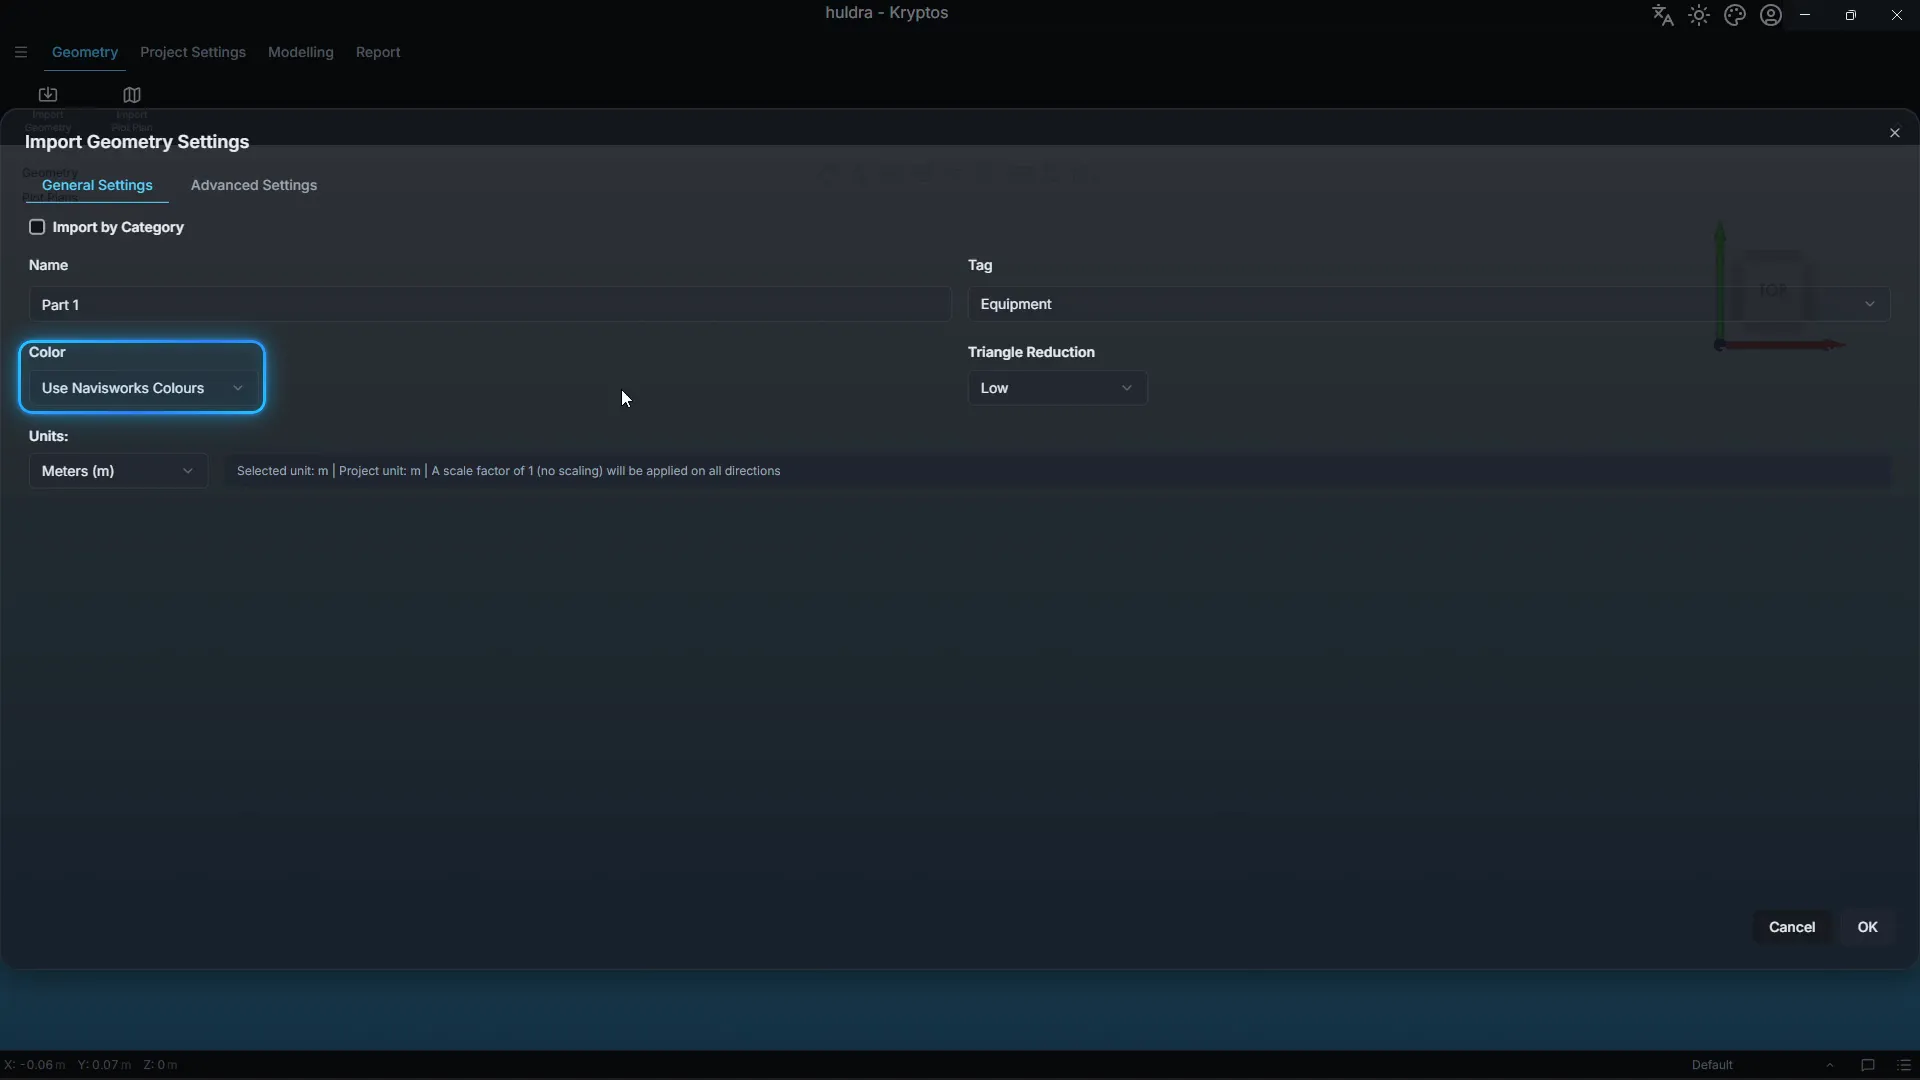
Custom
The whole model is shown in one colour, which you choose from the colour picker next to the list.
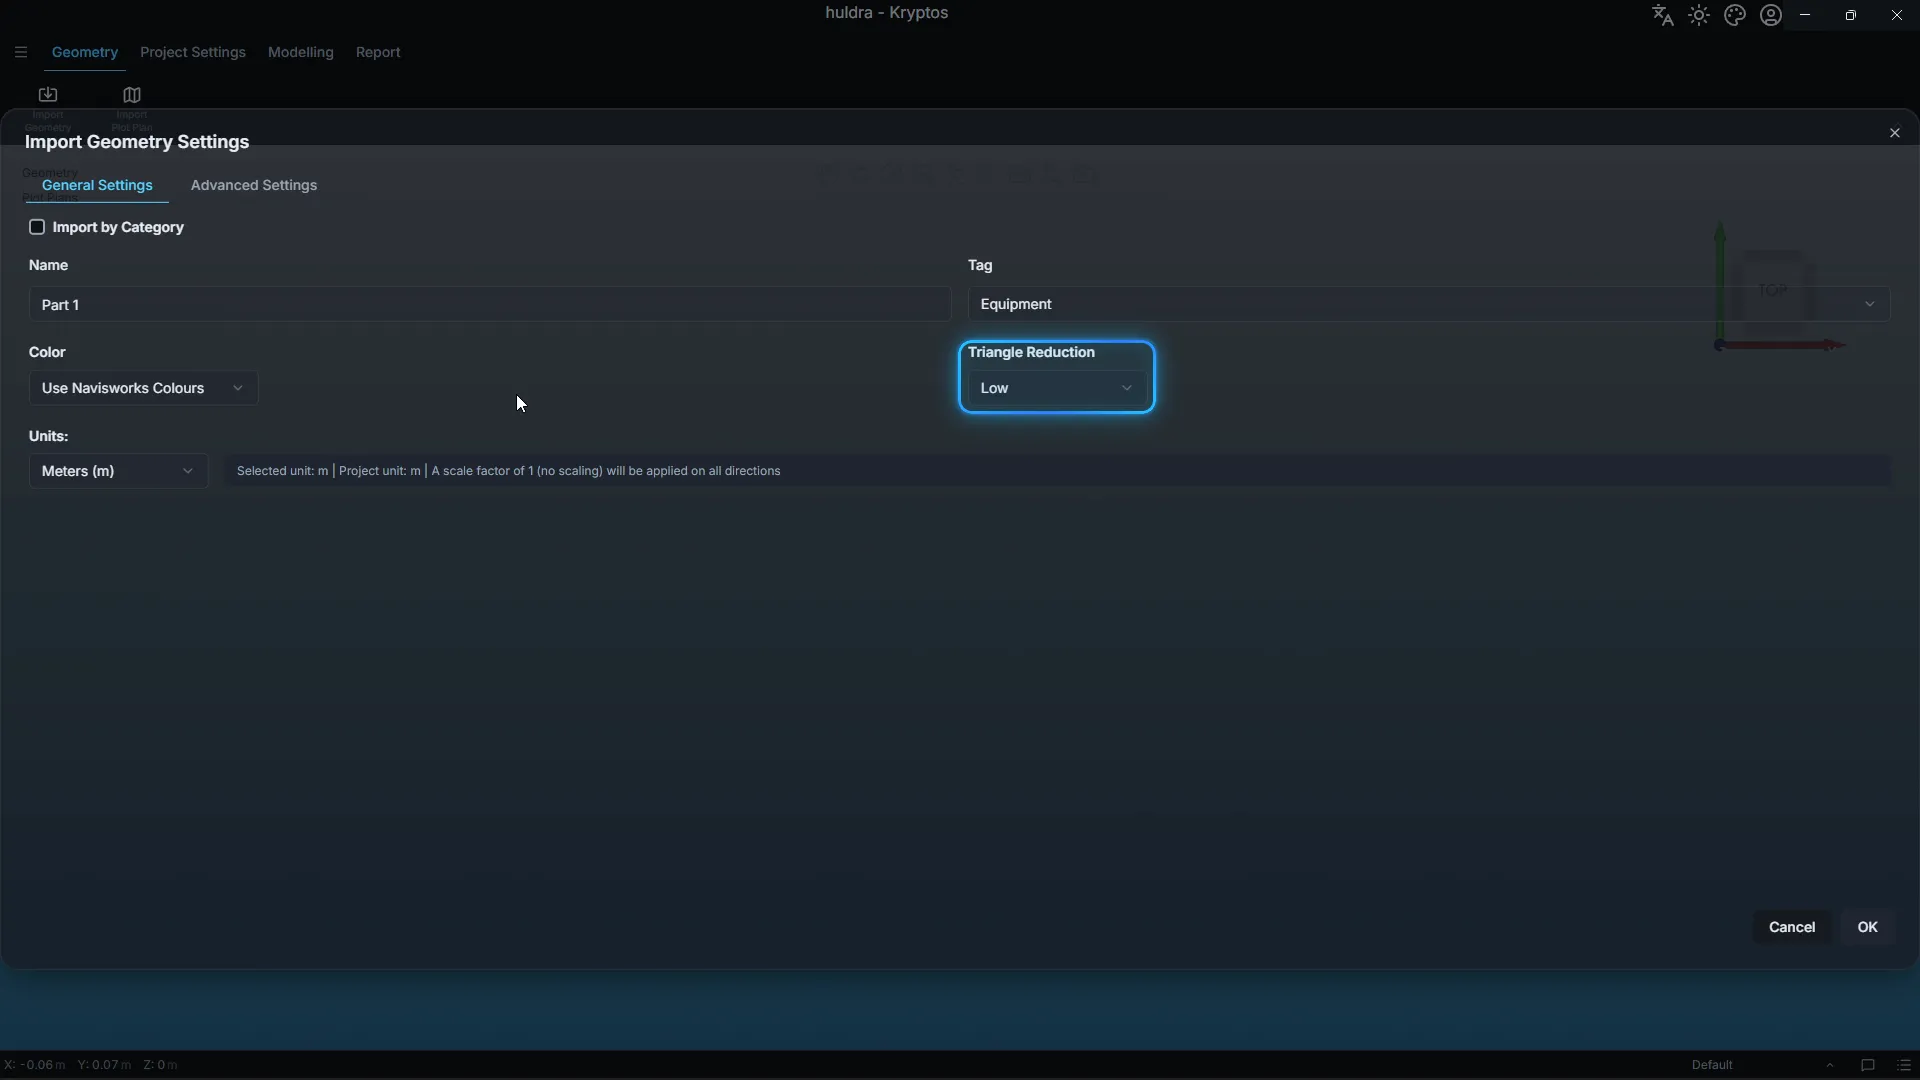
Step 4: Choose a Triangle Reduction
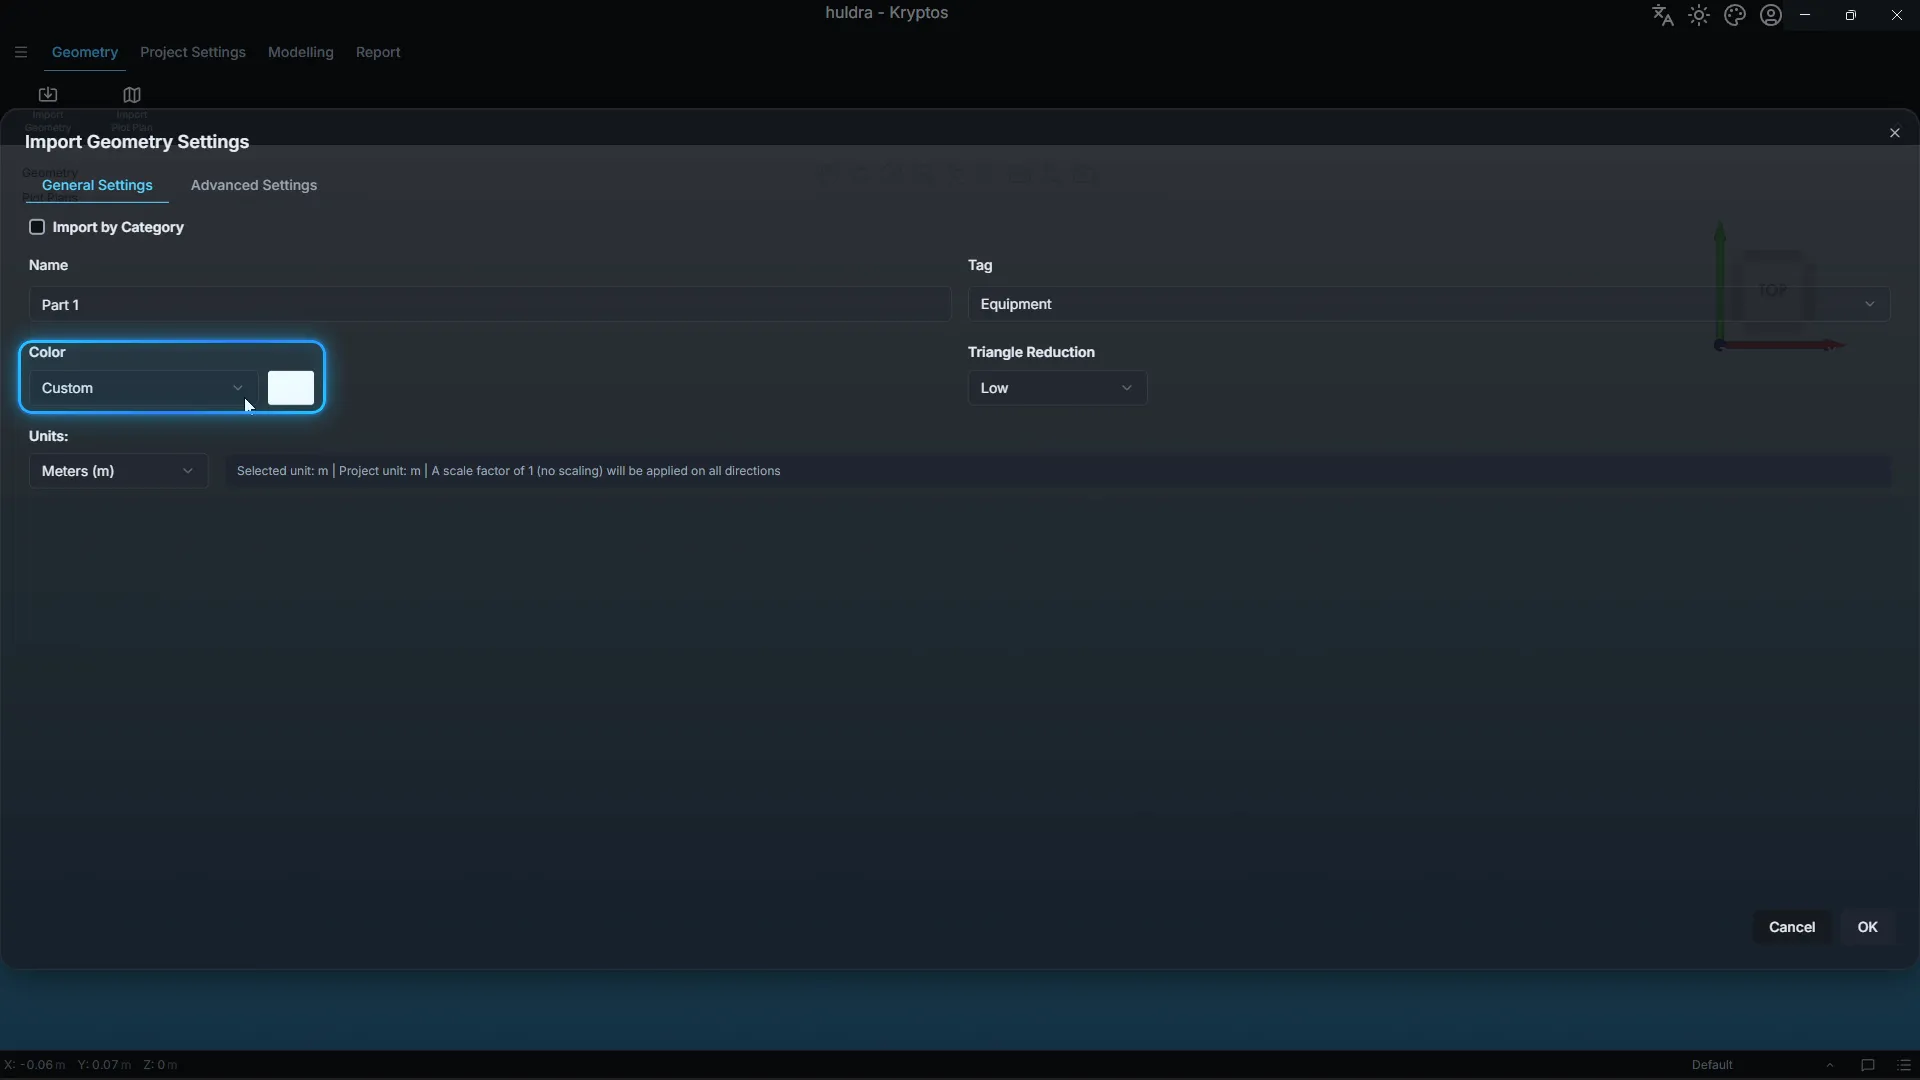
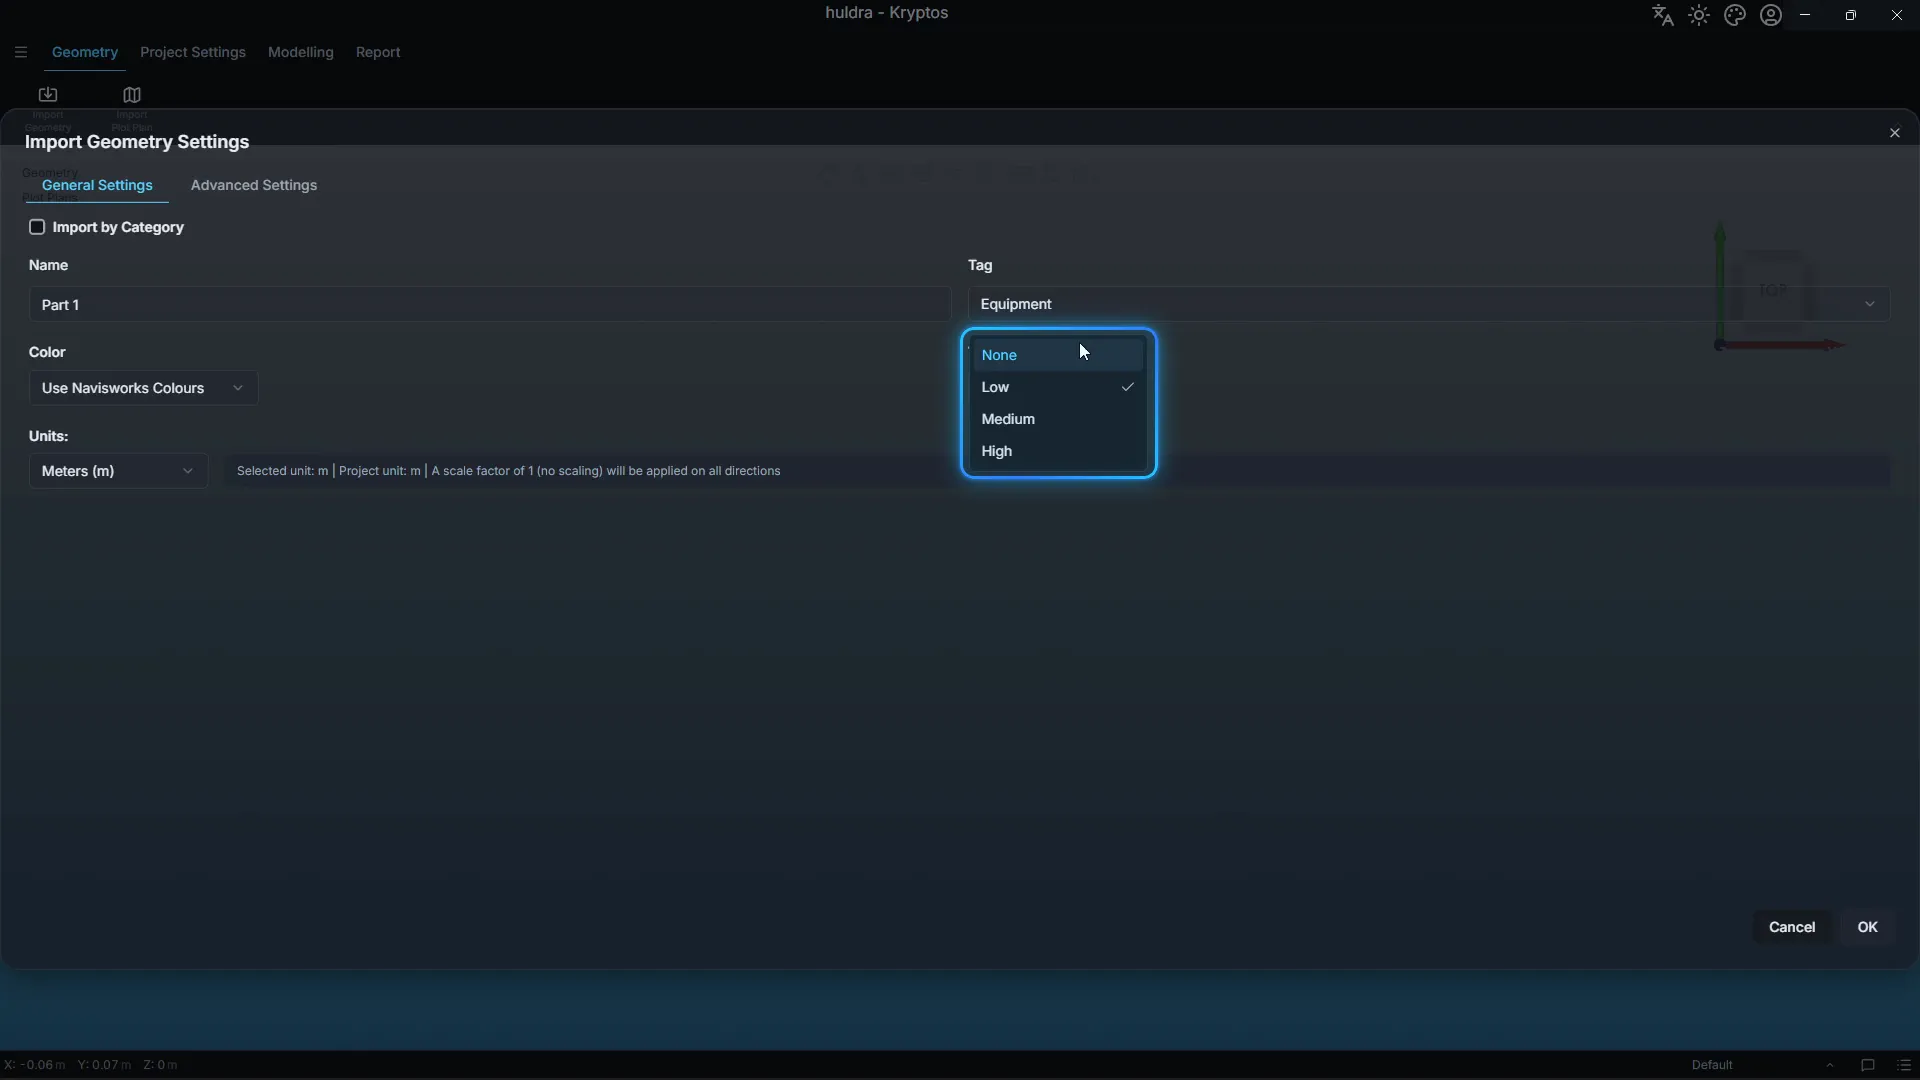
Triangle Reduction makes the model lighter as it comes in, while keeping its shape. A lighter model imports faster and makes calculations run faster, with little effect on the results.
| Setting | What it does | Use it when |
|---|---|---|
| None | Keeps every triangle | The model is small, or you need every detail |
| Low | Light reduction, the default | Most plant models |
| Medium | Moderate reduction | Low still feels slow to move around |
| High | Strong reduction | Very large models on modest computers |
Tip: If pipes look jagged or small parts go missing after the import, the reduction was too strong. Import again one step lower. The reduction cannot be changed after the import.
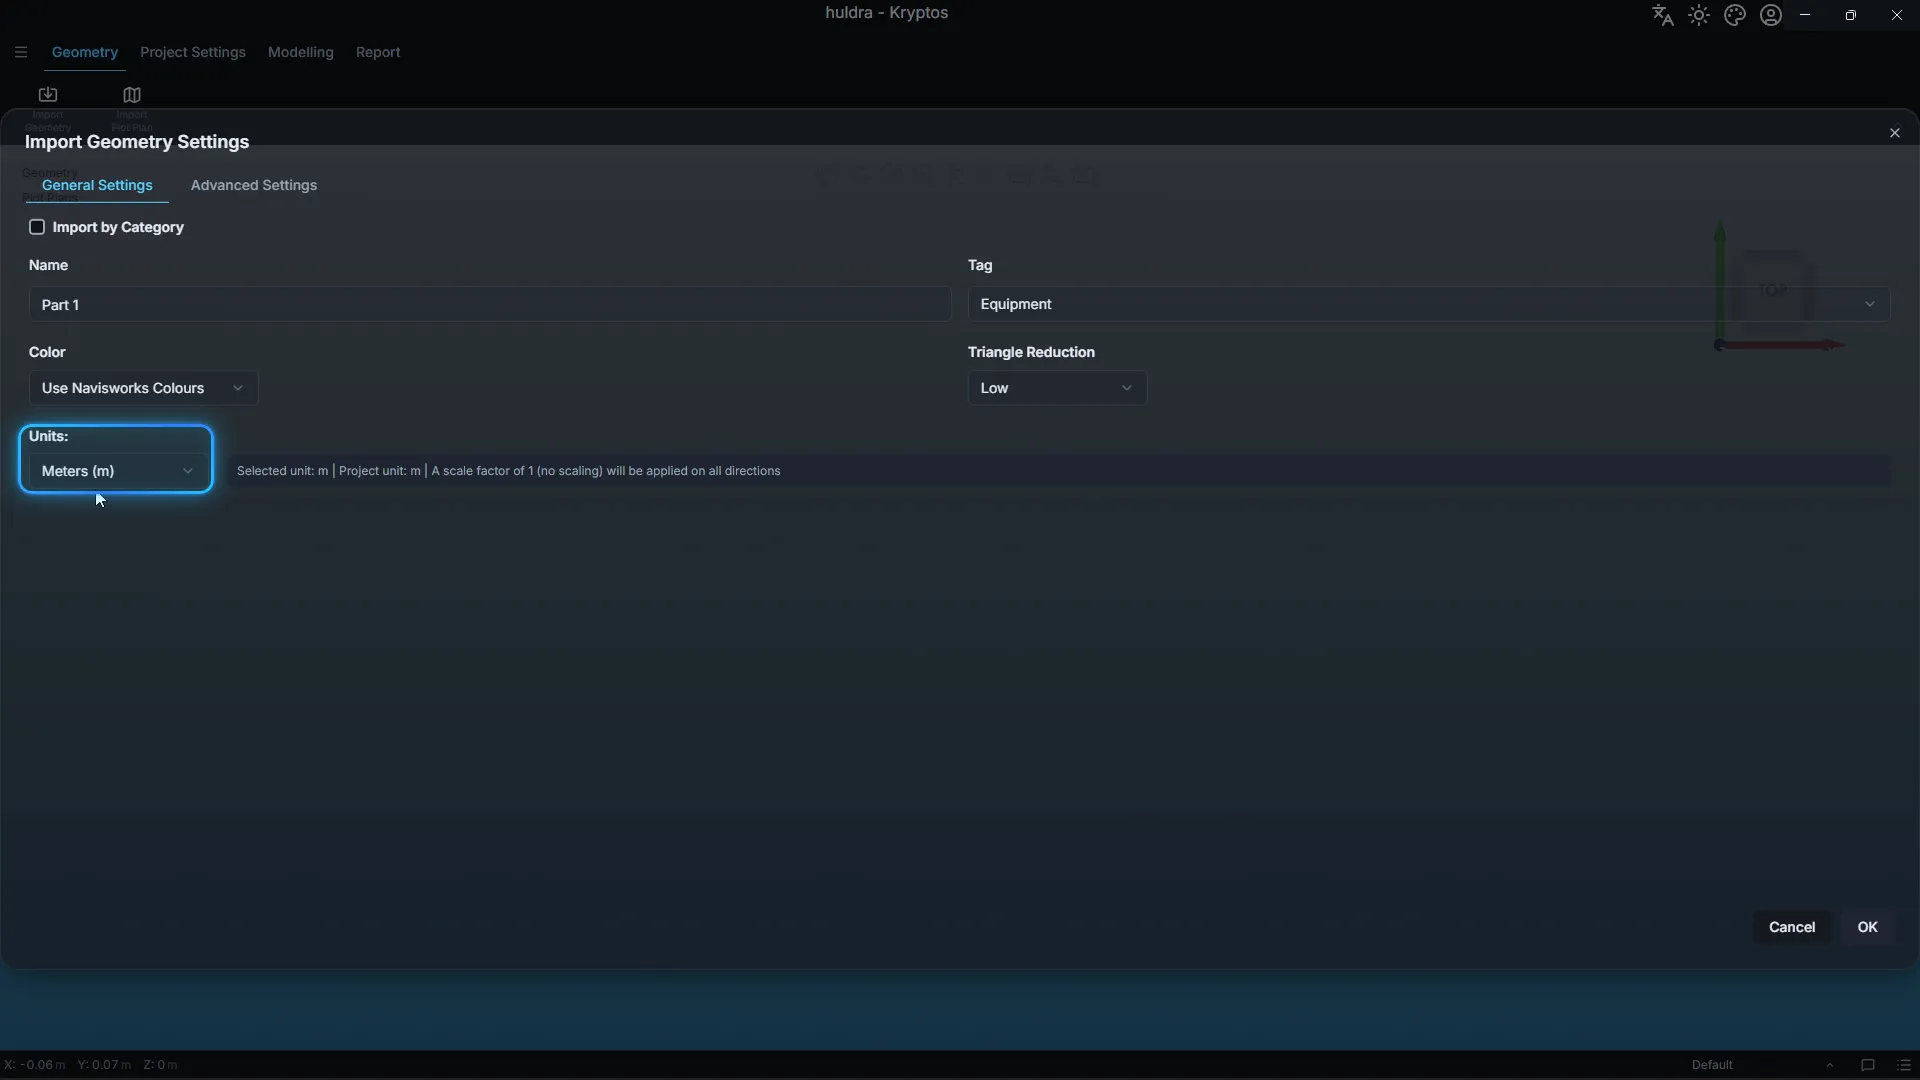
Step 5: Check the units
Units is the unit the file was modelled in. Kryptos shows the scale it will apply in the grey note beside the list.
Step 6: Ignore small parts (optional)
Open Advanced Settings. For Navisworks files, Ignore Small Parts skips every part smaller than the size you enter, in every direction. Bolts, nuts and small fittings make a model heavy without changing the results much.
The same tab can also move, rotate or resize the model as it comes in. Most imports keep these as they are.
Step 7: Import
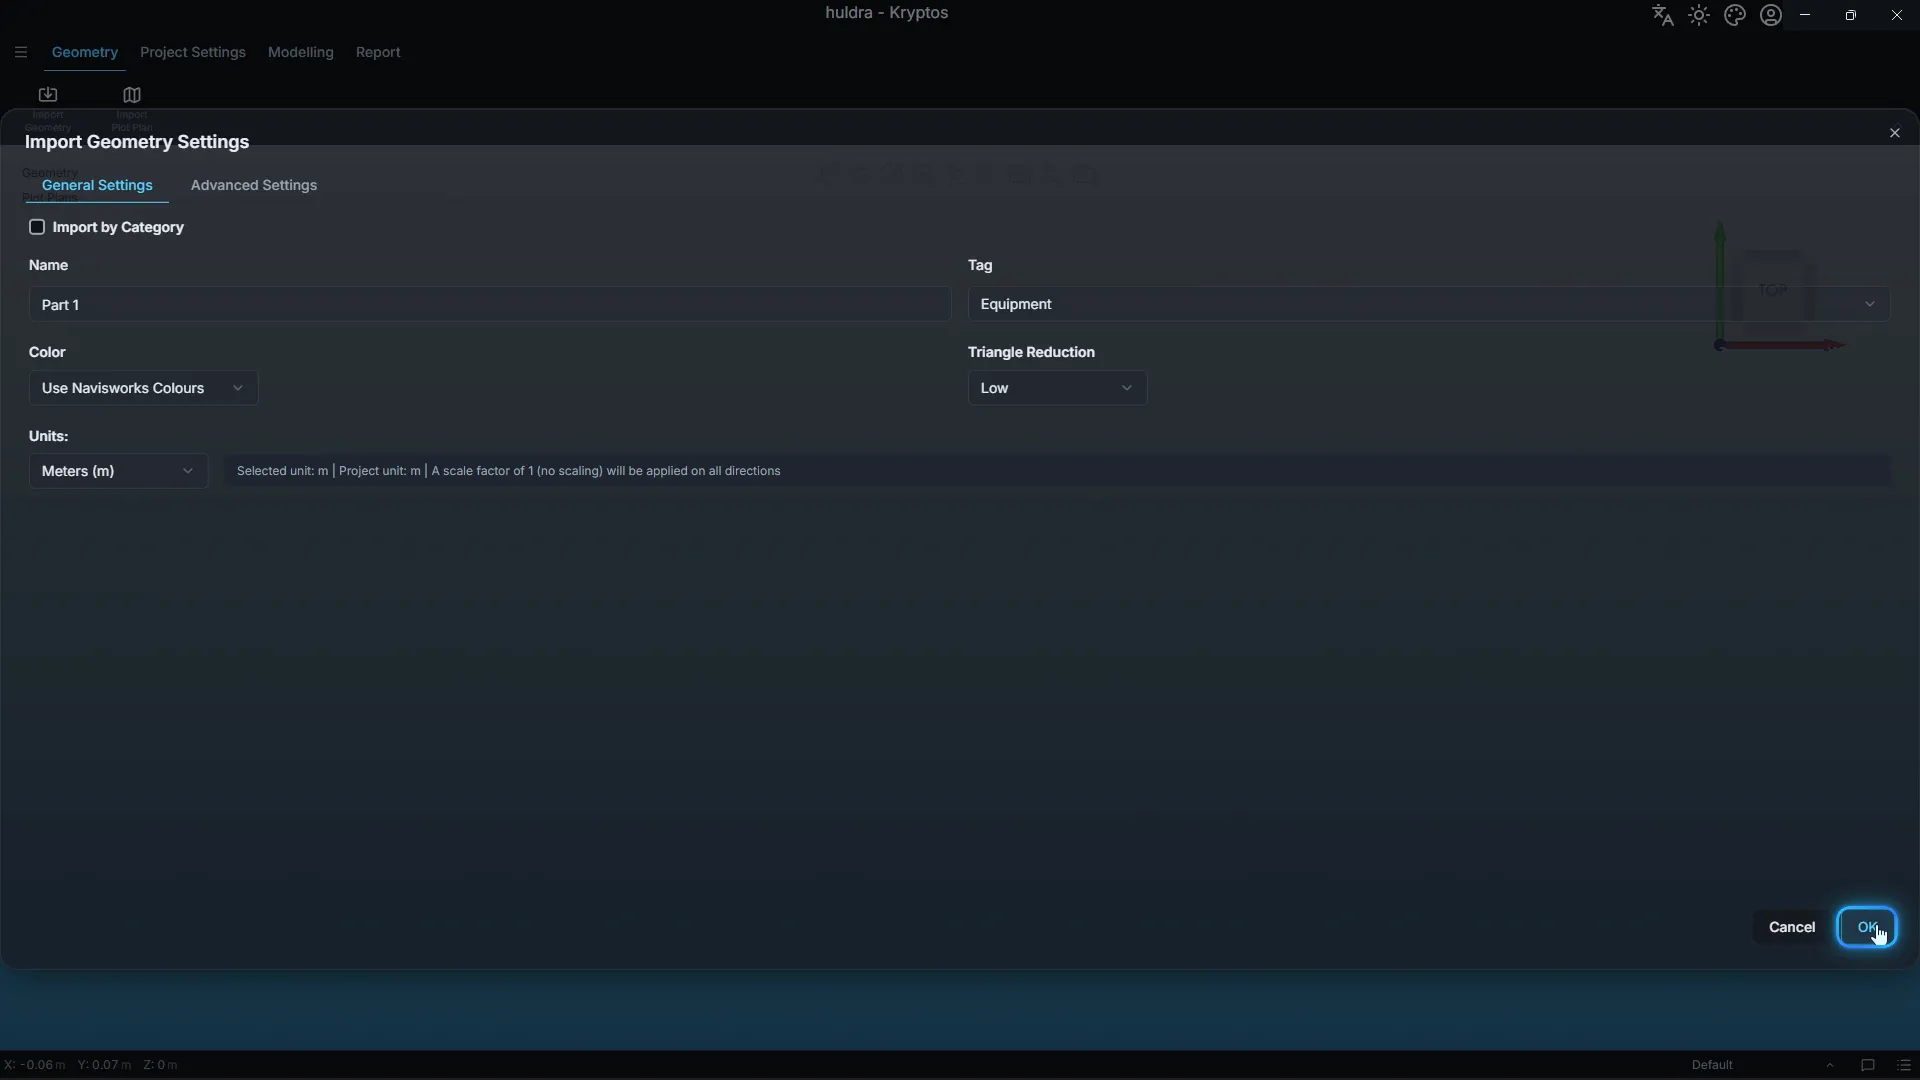
Click OK. A progress bar shows the import as it runs.
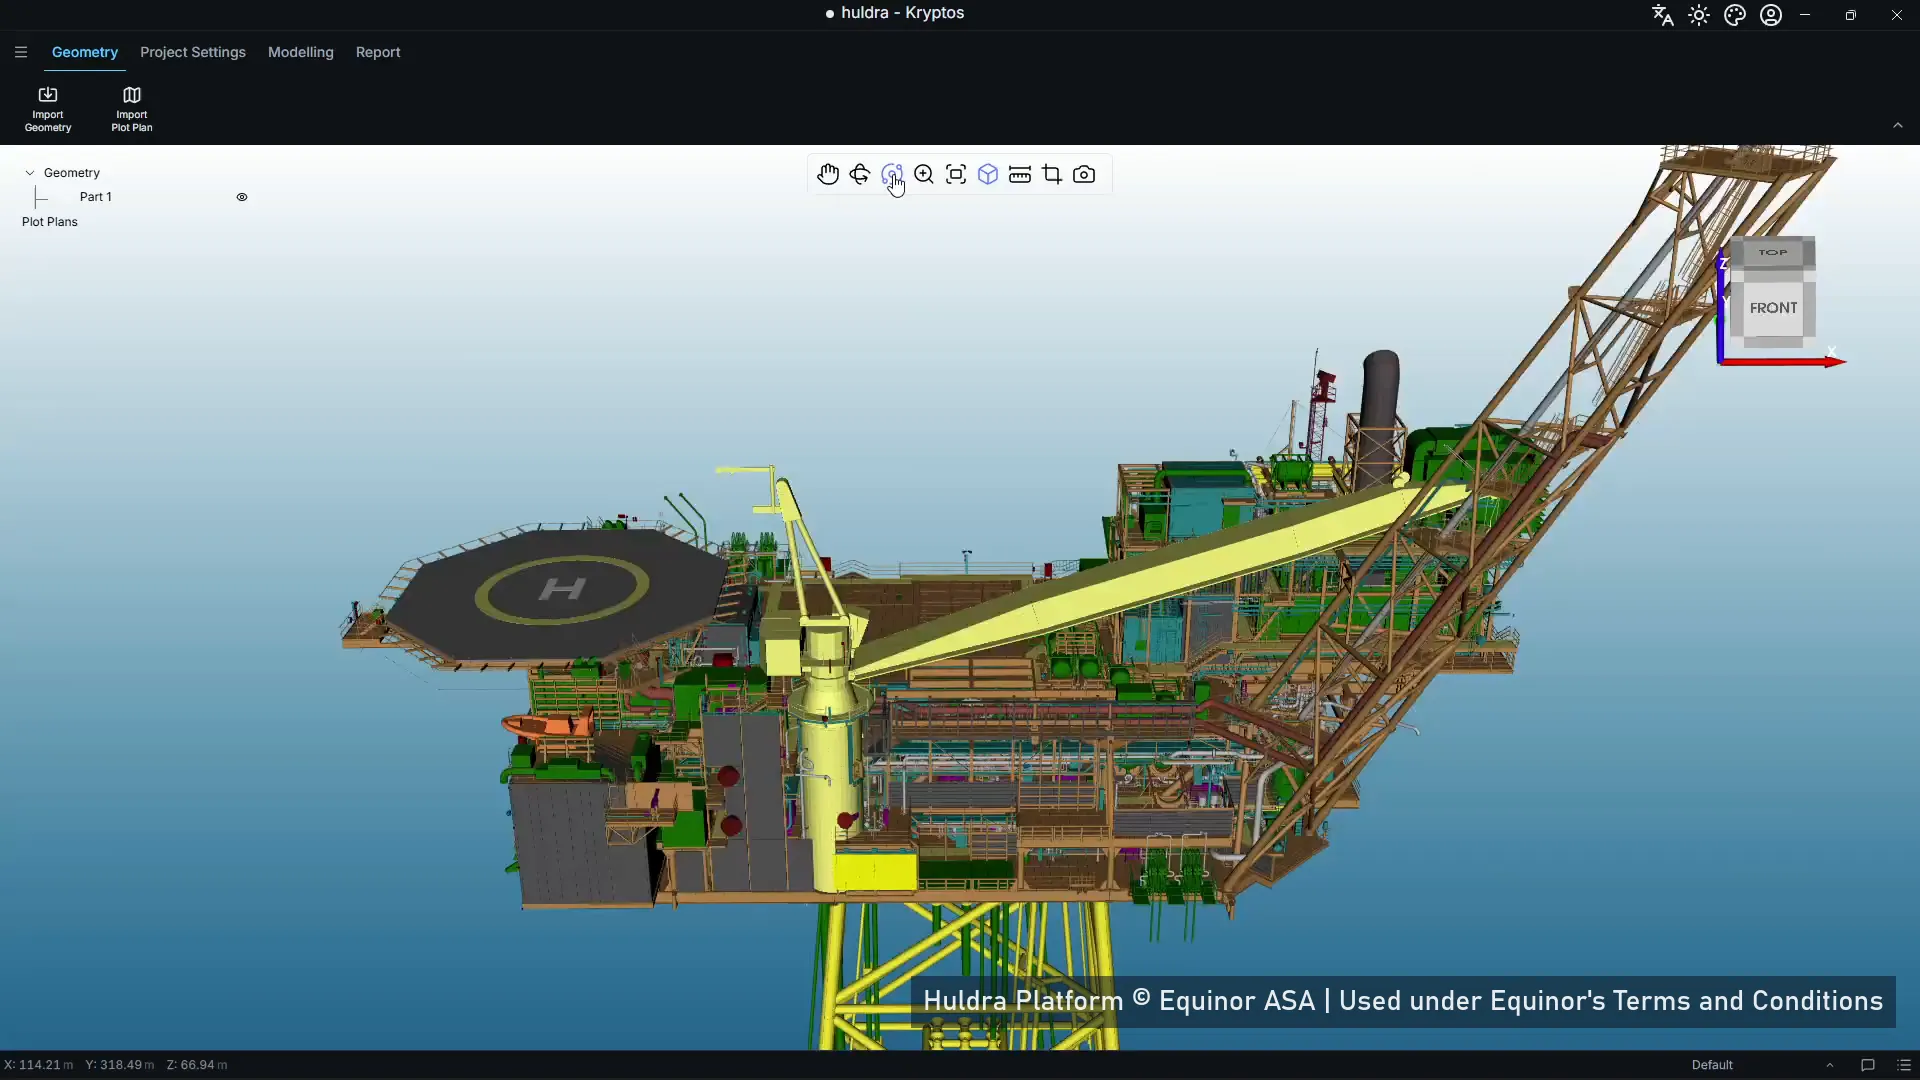
When it finishes, the full model is in the 3D view in its Navisworks colours, ready for areas and grades. In our tutorial, this took about a minute.
Split the model by category instead
If your Navisworks file holds equipment, piping, structure and other categories together, you can bring each one in as its own geometry part. Tick Import by Category in the same window.
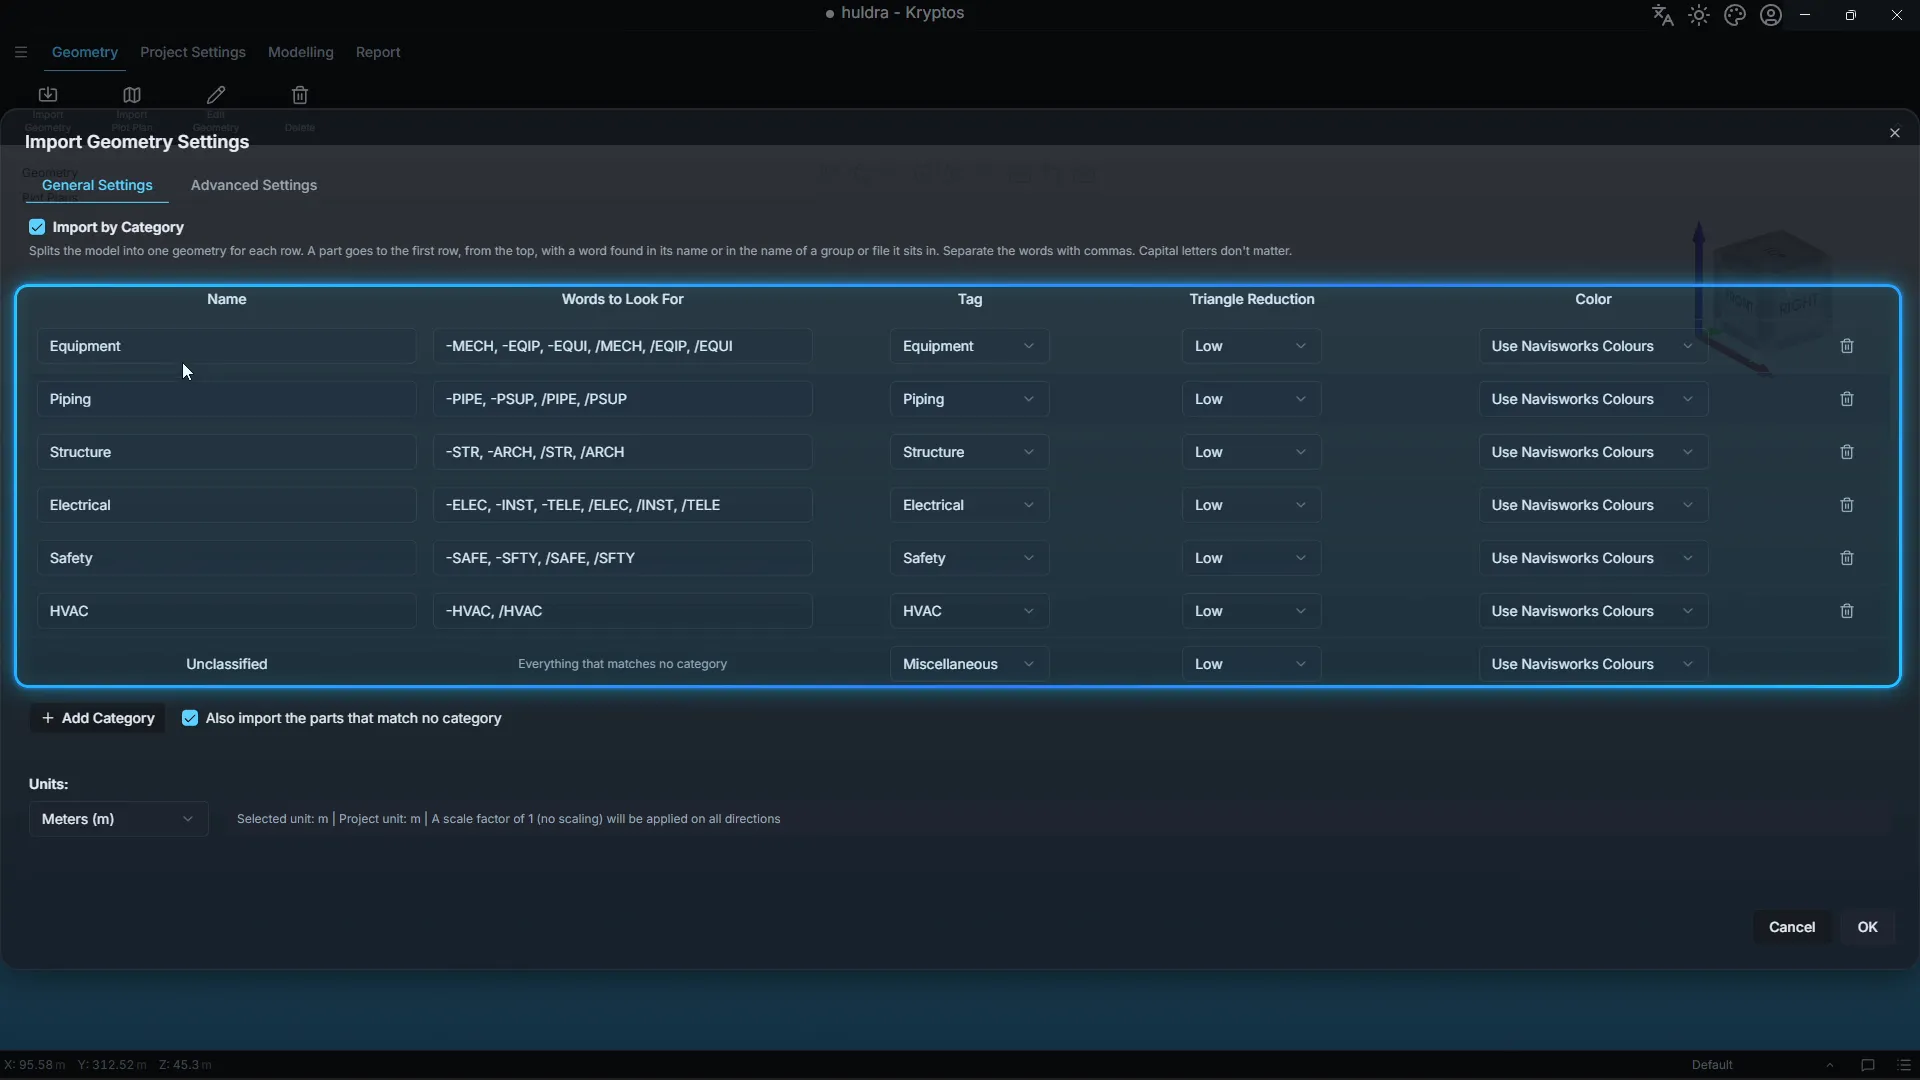
A table of categories appears. Each row becomes its own geometry part, with its own name, tag, Triangle Reduction and colour.
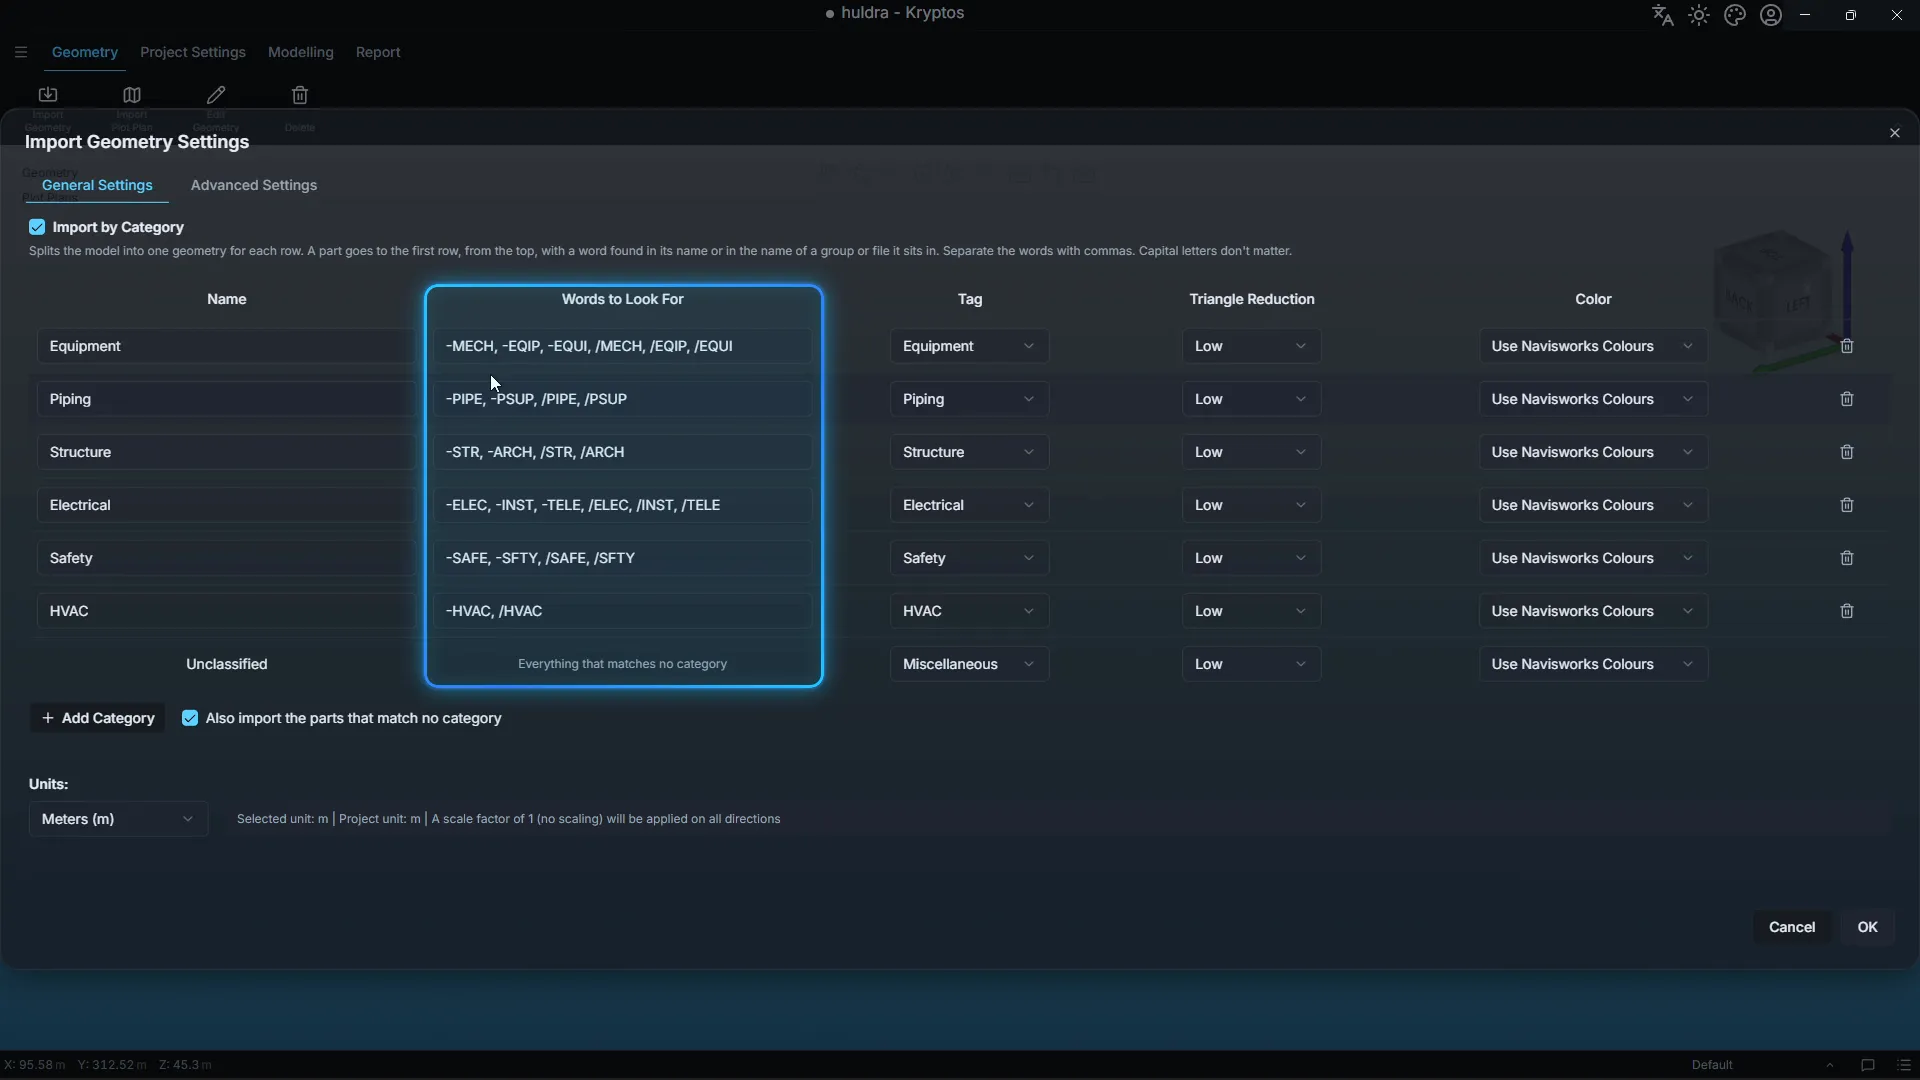
Each row has Words to Look For: the words Kryptos searches for in your Navisworks file to sort each part into the right category.
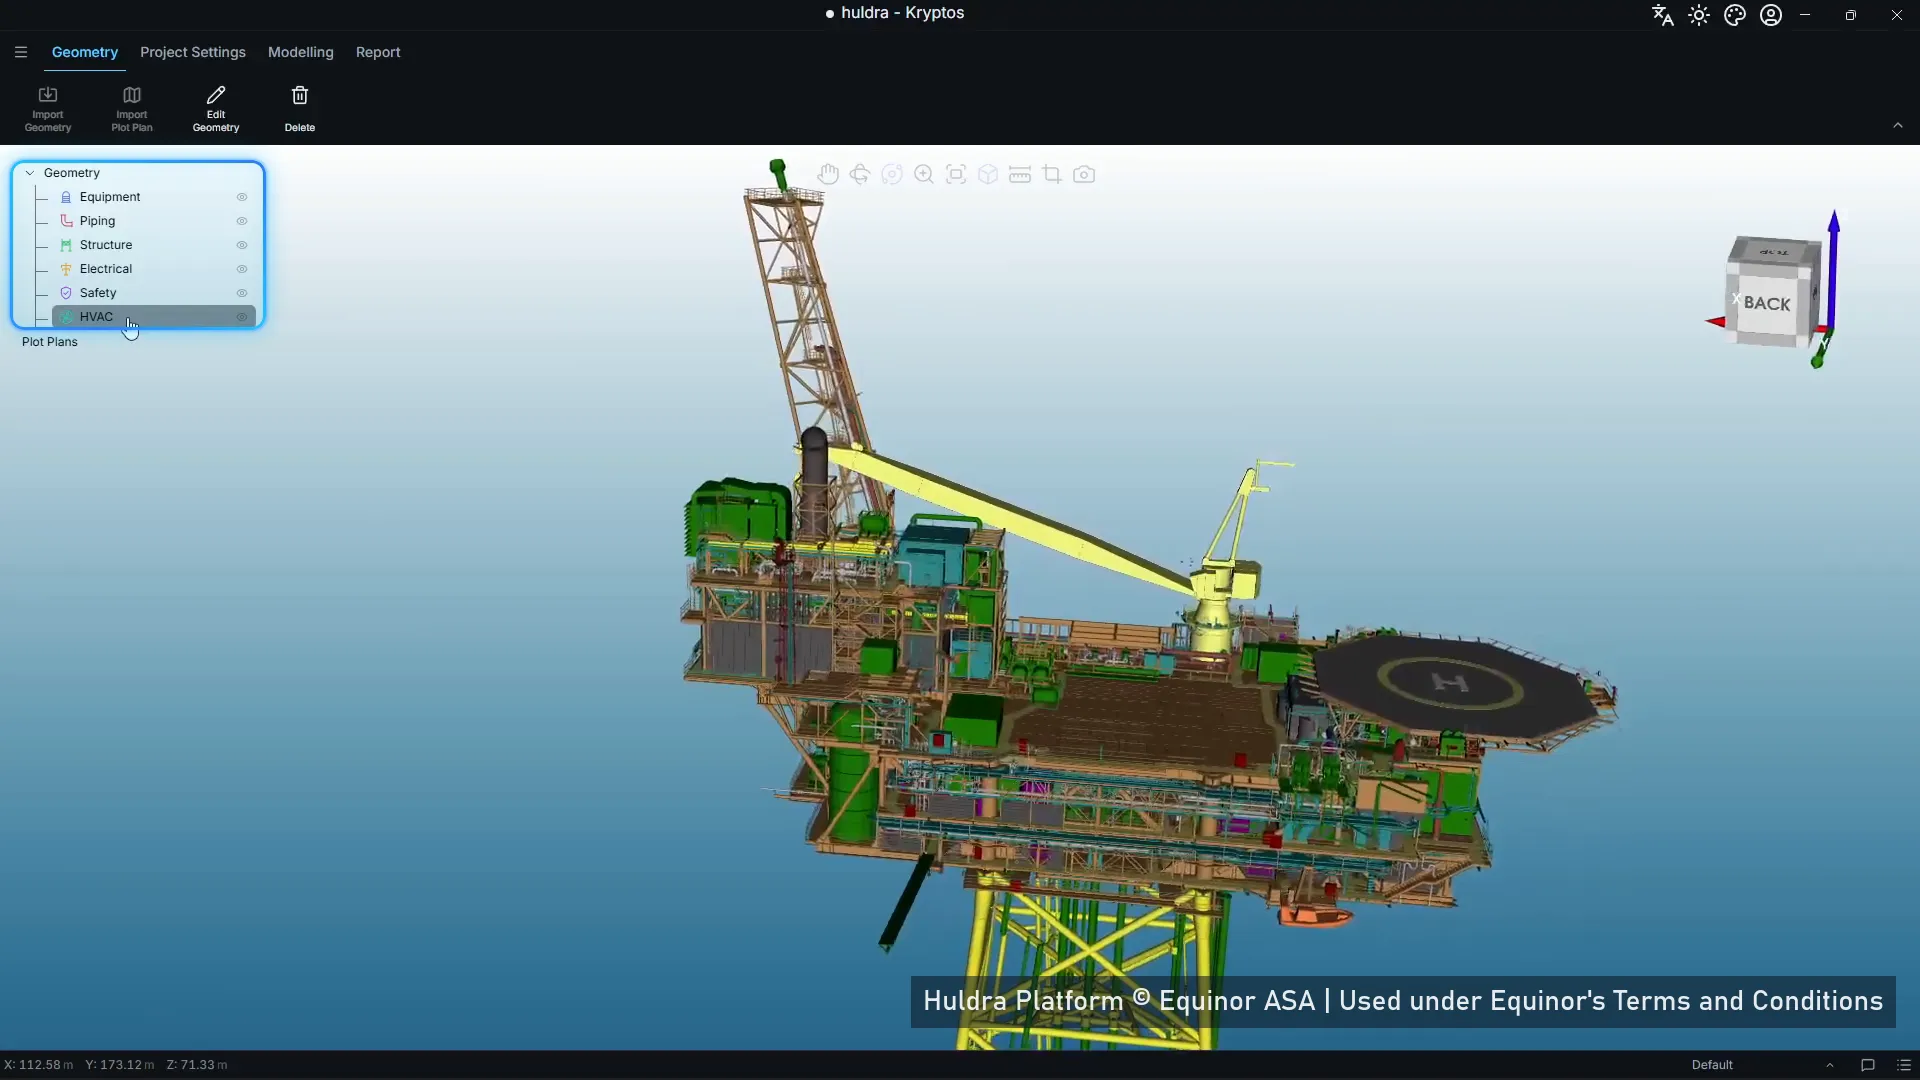
After the import, each category is its own part in the Geometry tree, which you can show or hide separately.
To bring in only some categories, see How to import only equipment from Navisworks.
How fast was the import?
We timed both imports in the tutorial, from clicking OK to the model appearing in the 3D view. Both used the same 34 MB Navisworks file of a full offshore platform, with Low Triangle Reduction and the Navisworks colours.
| Import | Result | Time |
|---|---|---|
| As one file | One geometry part | About 1 min 5 s |
| By category (6 categories and Unclassified) | Equipment, Piping, Structure, Electrical, Safety and HVAC as separate parts | About 1 min 8 s |
Measured on a laptop with an Intel Core i7, 16 GB of RAM and 8 GB of graphics memory.
Splitting the model into categories added only a few seconds. Either way, the whole job, from opening the file to a model ready for areas and grades, takes minutes rather than hours. Your times depend on the size of the model and your computer.
What’s next
With the model in, the next step is drawing areas, grades and decks, then letting Kryptos place the detectors. See Gas detectors auto-placed by Kryptos on a real offshore deck, in 1 minute 8 seconds.
Credits and acknowledgements
The plant model in this post is the Huldra platform, © Equinor ASA, used under Equinor’s Terms and Conditions. Our thanks to Equinor for making the Huldra data openly available, which lets us show Kryptos working on a real offshore platform.
Every screenshot and video that shows the model carries this credit. Equinor has not reviewed or endorsed this post or Kryptos.
Model credit: Huldra Platform © Equinor ASA | Used under Equinor's Terms and Conditions